4 Ways to Perfect iPhone Camera Exposure
How do we add that extra quality to our iPhone photos and videos that some people seem to get?
In fact, iPhones don’t take photos like a normal camera. They use a powerful science called Dynamic Tone Mapping. And yet, nobody is really talking about it or how to use it.
In this article, I’m going to put that right.
Overexposed?
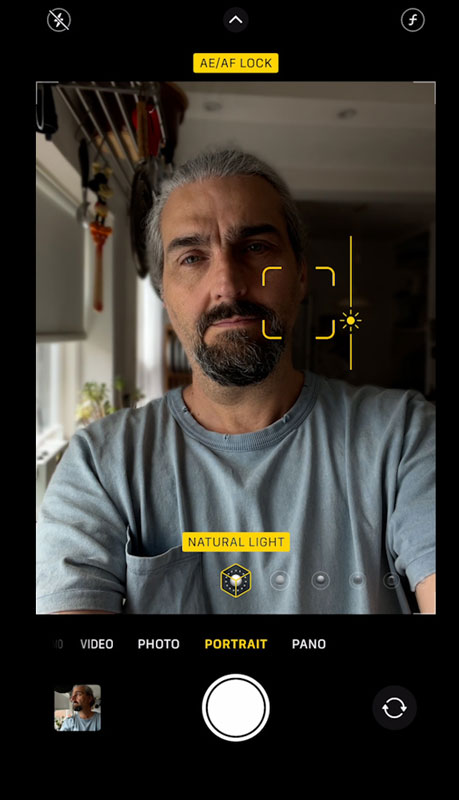
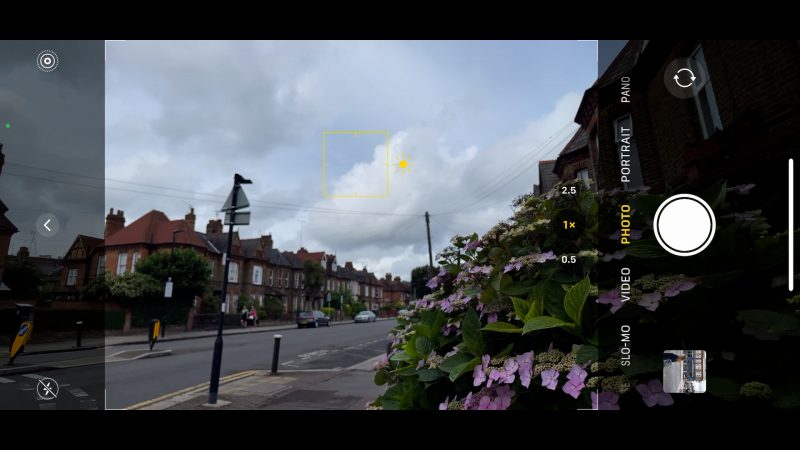
Tap on the screen and hold until you see the yellow square flashing. Now your iPhone camera exposure and focus are locked and they won’t change. But, especially in daylight, iPhones generally lean towards overexposing the frame.
They know most people are taking photos of their friends and family and want to make sure their faces aren’t covered in shadow. But it’s not always an artistic look.
Swipe on the screen beside the yellow box to bring down exposure. The colours often become richer, the shadows deeper, the frame less washed out.
Exposure compensation
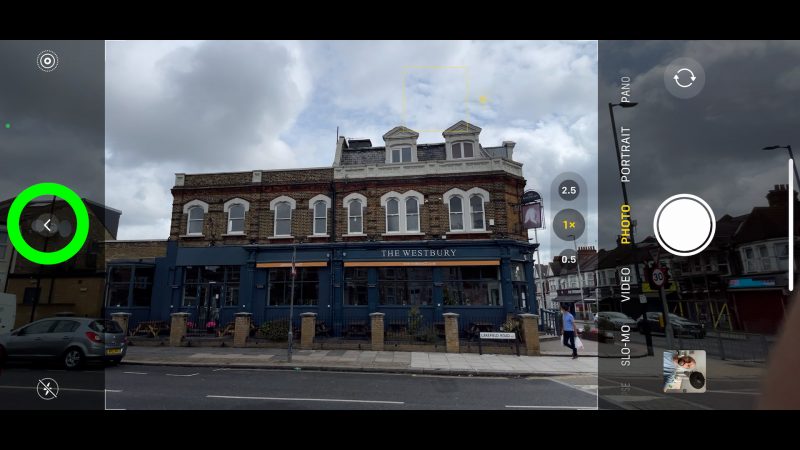
If you tap this little arrow at the side, you open up another way to adjust exposure. The difference is this setting will remain until you change it. In the previous method, after you take a photo or video, it resets, so you have to keep resetting it.
Get the Balance right
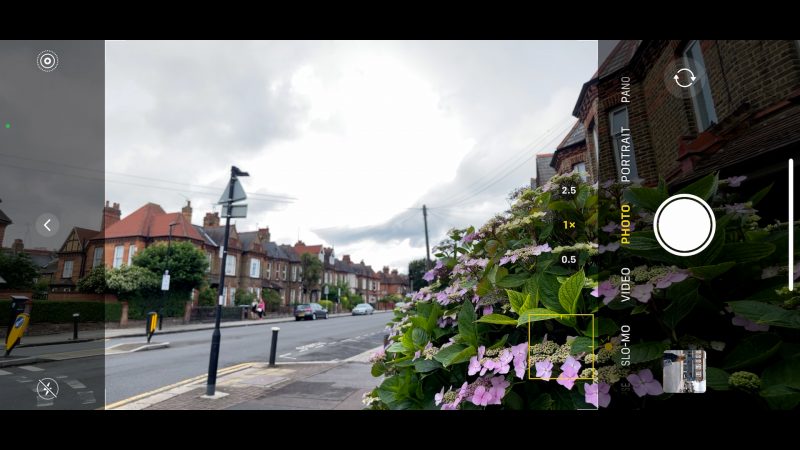
Setting exposure is all about balancing the shadows with the highlights. Especially if there is high contrast in the frame. High contrast is when you have very bright areas, like sky and sun, as well as darker areas.
Often, it’s about deciding what’s most important – do you want to prioritise the details in the sky, or the details in the shadows?
Dynamic Tone Mapping
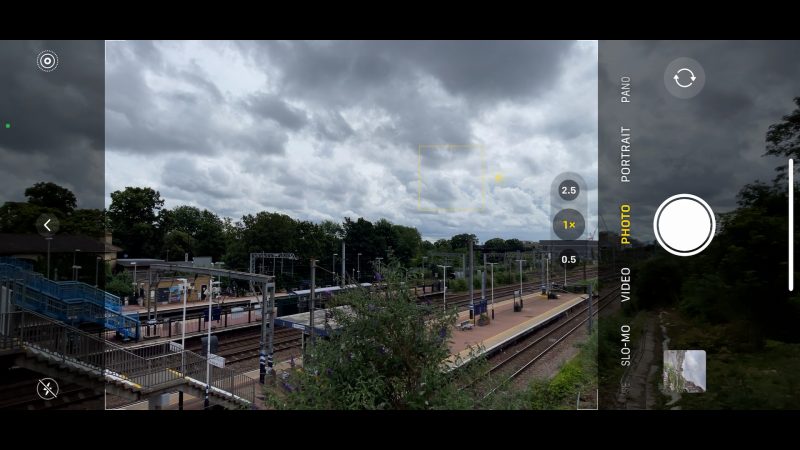
So let’s finally talk about dynamic tone mapping. What this does is set exposure differently for different parts of the frame. For example, the software will bring down the exposure of the sky without changing exposure of the landscape below.
You can see this happening in real time as you move your camera around. The software will fill in blown out areas of the sky. Without this software, the sky would now be blown out completely white. Or we would have to bring exposure down so far the landscape would be completely black.
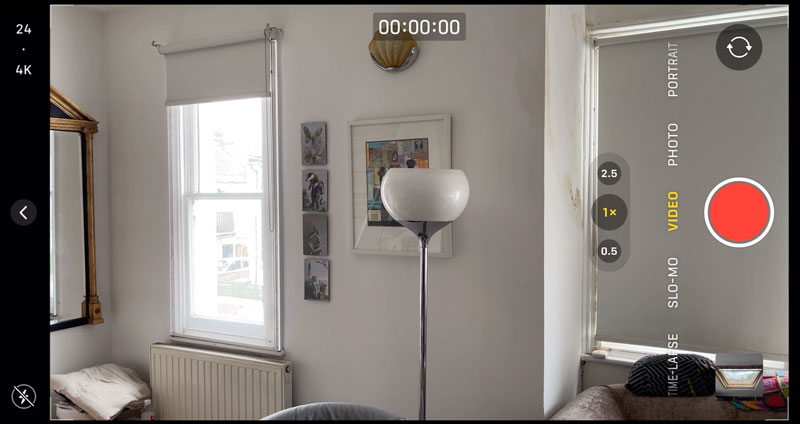
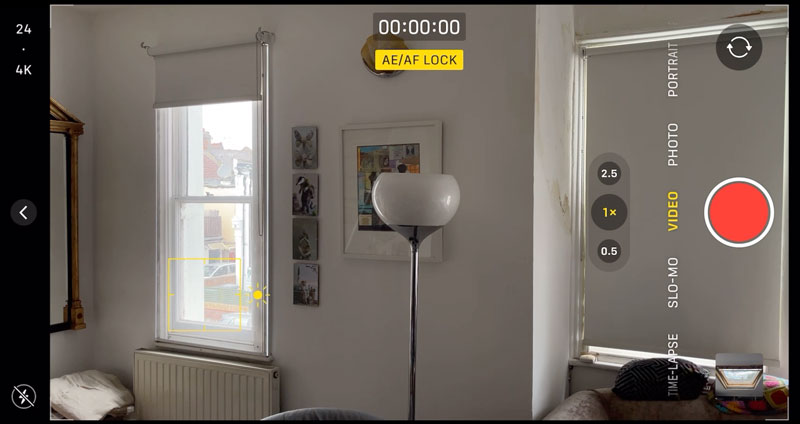
In this situation (below), if I tap the wall, the windows are blown out. But if I tap on a window, the iPhone now adjusts the exposure to fill in the windows. By playing around with where you set exposure, and using the exposure slider, you can really make a difference to the look of the frame.
Eager to learn more?
Join our weekly newsletter featuring inspiring stories, no-budget filmmaking tips and comprehensive equipment reviews to help you turn your film projects into reality!
Simon Horrocks
Simon Horrocks is a screenwriter & filmmaker. His debut feature THIRD CONTACT was shot on a consumer camcorder and premiered at the BFI IMAX in 2013. His shot-on-smartphones sci-fi series SILENT EYE featured on Amazon Prime. He now runs a popular Patreon page which offers online courses for beginners, customised tips and more: www.patreon.com/SilentEye


