Cinematic Lighting: Smartphone Filmmaking
I have a very powerful memory of something I saw when I was a boy. I guess around 14 or 15 years old. Becoming a filmmaker was a dream I’d had for a few years already. The memory is of sitting in the large main hall of my school, Creighton Comprehensive, attending some kind of art lecture.
The school had a strong art department, which suited me. I don’t remember any other part of the lecture or what it was about. But what I do remember is a self portrait of Rembrandt Harmenszoon van Rijn projected on a big screen.
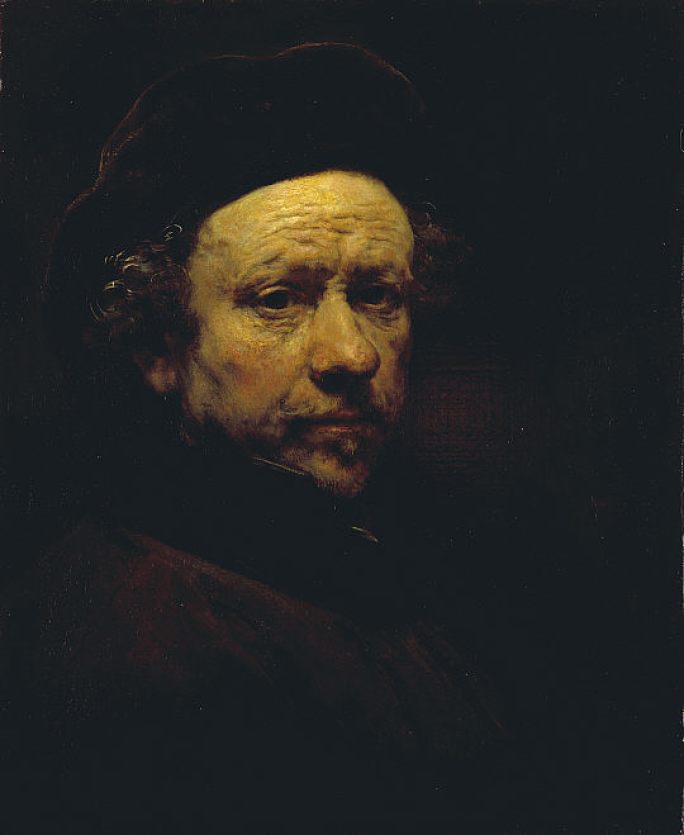
As I gazed up at the Rembrandt’s face, tingles ran across my back. For some reason, I had an instant and overwhelming connection with an old Dutch guy who painted himself, over 300 years before. In this painting, he is said to be 51 years of age, a little bit younger than I am now.
But why has this memory stayed with me for about 4 decades? I think I identified with the bottomless shadows, which combine powerfully with Rembrandt’s uncompromising stare. The famous painter is surrounded by darkness, but he doesn’t seem to disturbed by it.
Painting with Light
The painting appears to show Rembrandt living with darkness around him, but his eyes are strong and knowing. Perhaps he’s even attracted to living with shadows, in some way.
On the other hand, his face is quite brightly lit, perhaps by a single light source. The light appears to be coming from above (see the shadow under his nose), is that significant? Is he painting beneath a high window? And, more importantly, does the light represent something here?
While the shadows around Rembrandt appear to be slowly swallowing him, there’s a resilience in the image too. Mainly from Rembrandt’s expression and the strong light from above. The light is brightest on Rembrandt’s forehead. As if hope remains in Rembrandt’s mind.
Rembrandt lived to the age of 63, having outlived most of his children, his wife and his lover. Added to that, this painting was made a few years after his bankruptcy. And when he died, he was buried as a poor man, in an unknown grave. So, perhaps it’s understandable then, that Rembrandt might imagine himself fading to black.
And all this is to show why, when we think about lighting our videos, we need to think about what we want to say. What’s the mood you want to convey? What kind of feeling do you want to provoke in the viewer?
Available Light
The cheapest and most convenient cinematic lighting is to use what’s there already. This means you don’t have to carry so much equipment around and spend time setting it up.
Filmmakers often talk about using available light for cinematic lighting. That might mean you film with the light as it is and work with what you have. Or it might mean using available light, with modifications.
For example, you could use the available daylight, but add a fill light from a reflector or a small portable lamp. Or you could use existing artificial lights at a location you film in. Again, you can use them as they are or modify them (for example dimming, filtering or diffusing them).
This applies to any situation where you are shooting video, including vlogging, social media, for your YouTube channel and so on.
Lighting Faces
Lighting faces well is really important for cinematic lighting, no matter what kind of videos you are making. Well, unless you’re not making videos with people in them. Like, shooting products for example.
Otherwise, if you get one thing right in your lighting setup, make sure it’s on the faces of the subjects. Faces are where the story is told and where the audiences eyes are instinctively drawn. Indeed, in this famous self-portrait just about the only thing you can see is Rembrandt’s face.
In film, the lighting of an actor’s face is almost part of the performance. Especially with highly stylised lighting which evokes a strong mood. The style of lighting in that 300 year old painting would probably be called something like “key lighting”, where one strong light creates something dramatic.
Lighting Styles
When it comes to cinematic lighting, there are a number of lighting styles for film and video work. These are used in various genres of narrative fiction, as well as factual TV, advertising, music videos, vlogging, YouTubing and so on. And the lighting you use all depends on how you want the audience to feel.
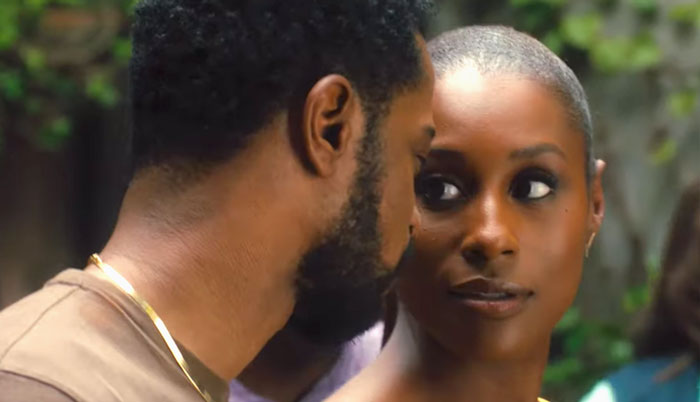
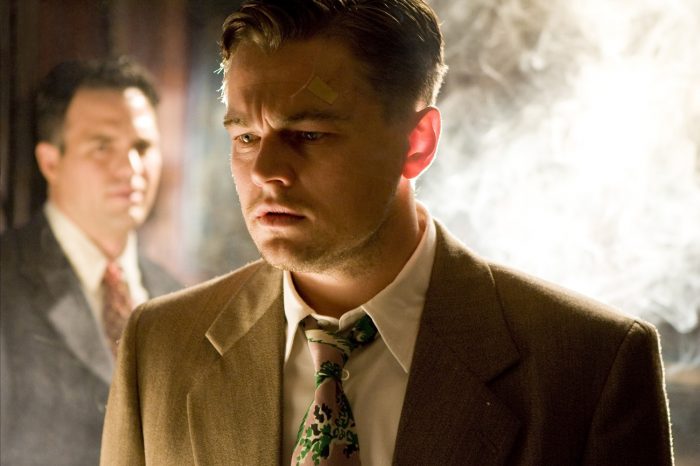
If you are producing a TV show (or YouTube channel) reviewing tech products, for example, you will probably want your viewers to feel relaxed when watching your show. Therefore, you will want nice soft, even lighting which evokes a pleasant feeling for the viewer.
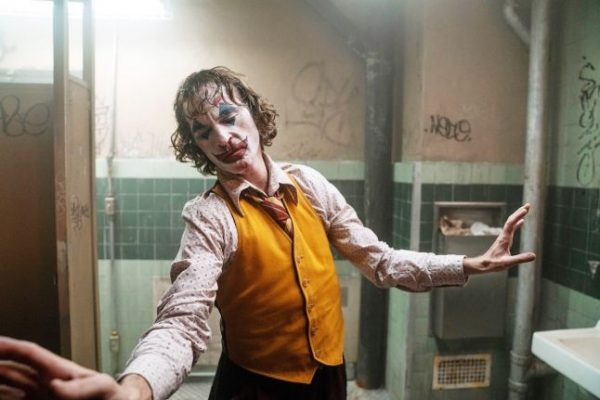
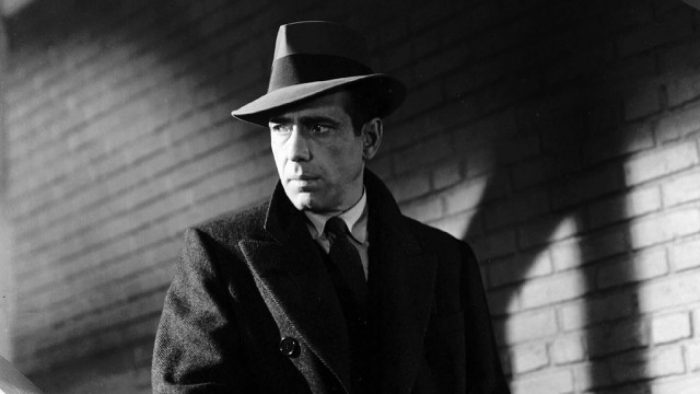
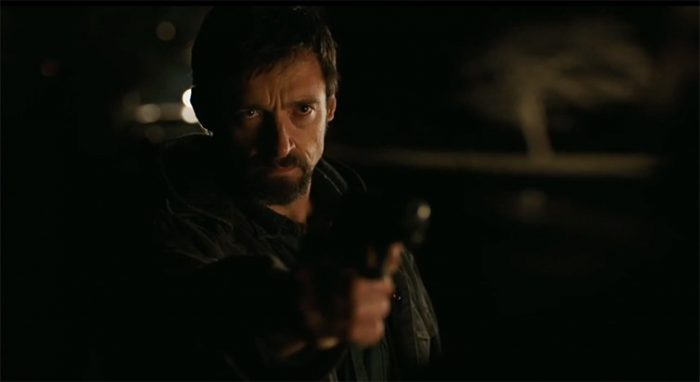
On the other hand, if you are producing a thriller or horror film, you’re more likely to want something dramatic and disturbing. Perhaps a strong, key light creating dark shadows and high contrast between the dark and light parts of your image. You might also want to include some unsettling colours like red or green.
So, while it’s easy to throw around the word “cinematic” we have to be careful to consider what kind of cinematic lighting we actually want.
Working Within a Dynamic Range
In my opinion, it’s much easier to set up lighting to work within the dynamic range of your camera than to use a Log setting, which involves extra work in post production. Especially if you are setting up lighting in a fixed setting for recording a series of YouTube videos. Get the lighting right, then get shooting and editing without the need for LUTs and extra colour work.
To Contrast, or Not To Contrast. That is the question…
On one hand, you don’t want the light to be so low you need to push up your ISO and create video noise.
On the other, you don’t want a light to be so bright your you have to increase your shutter speed and reduce motion blur. Unless you want that harsh look, that is.
In addition, the brighter a light is the greater the contrast will be between the light and dark parts of the image.
Let’s say you have one bright key light. Now you have to adjust your camera settings to correctly expose the parts of the image hit by that light. This will now cause other parts of the image to go very dark.
And the less dynamic range your sensor has, the more dark they will go.
So how do you bring back extra detail in the shadows?
To bring back some of that detail you just lost you can do 2 things. One option is to reduce the brightness or directness of the KEY light, by dimming it, adding filters or bouncing the light off another surface. The second option is to add a FILL light.
Fill Lighting
A FILL light is a second light which is placed at a different angle to your KEY light. Normally, a cinematographer or lighting technician will make this fill light weaker than the key light.
The fill light literally fills in the dark shadows by shining a light at them. You can also use a reflector (or reflective surface) to bounce light and fill the shadows that way.
And that is often enough for basic lighting. But if you really want to light like a pro, you can try adding a backlight.
Backlighting
BACKLIGHTING is a light placed behind the subject or subjects. The idea of a backlight is to catch the edges of a subject (or object) to separate them further from the background. This light is perhaps more decorative than functional, however it does add extra depth to the image.
Talking of decoration…
Practical Lights
In filmmaking, lights that are part of the location you are filming in are called “practical” lights. They can also be lights you brought to the location or dressed the set with. In other words, they are ordinary lights rather than designed for filmmaking purposes.
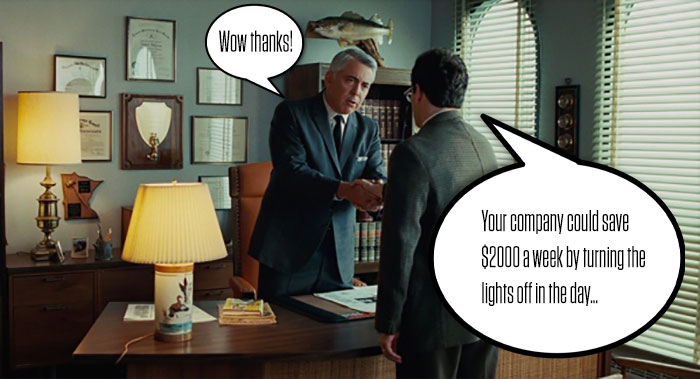
Practical lights can of course be used to illuminate the scene and subject. Not only that, but these lights can also make the background of the frame more interesting. And, without trying to sound like I’m stating the obvious, you’ll want to have them switched on.
What I mean is, of course you can have a light as an object in the set or location as a decoration. But if you watch closely next time you are watching a movie, you might notice something strange. Lights switched on in the middle of the day, with sunlight streaming through windows.
Why do filmmakers do that?
The simple answer is that it looks nicer. In reality, those lights would not be needed. But cinematographers switch them on because they add extra atmosphere and dynamics to the image.
Remember, cinematography is painting with light. You’re not trying to depict reality any more than Rembrandt was in his self portraits. The aim is to create something beautiful, romantic, moving, disturbing, exciting or whatever the scene calls for.
Light Diffusion
When lighting a scene, especially lighting faces, it’s essential to diffuse the light for cinematic lighting. Direct light is harsh and unflattering and this is why filmmakers almost never use a direct beam. Direct light also creates clear shadow lines on the face which look messy and also unflattering.
A direct light will hit the features of the face and create crisp shadows. You will be able to see the shadow of the nose, for example, as a clear shape on the subject’s cheek.
And if you have 2 or more lights, those shadow shapes crisscross on the face and look ugly. At the same time, these crisscrossed shadows reveal to the audience that the subject has film lights pointed at them.
To prevent this happening, filmmakers place material between the light and the subject to diffuse the light. Diffuse light is softer, has greatly reduced shadow definition and is generally much more flattering.
Bigger the Diffuser, Softer the Light
In the image below, you can see what’s known as a “softbox” placed on the photography lights. The area of the softbox material is much greater than the size of the lamp. And this is because the wide area of material spreads (diffuses) the light over a greater area.
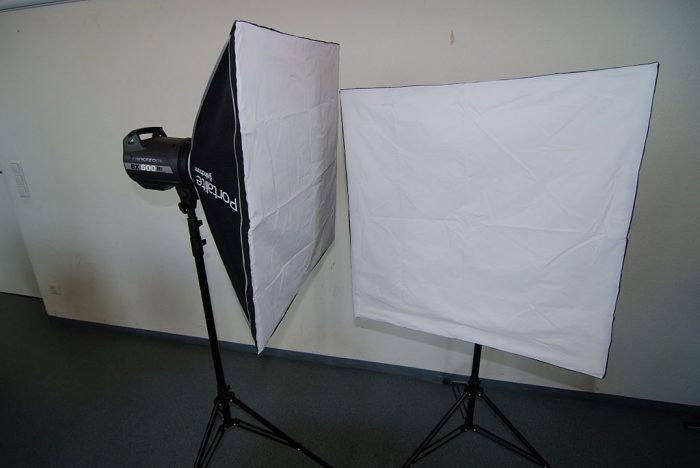
Try to image the difference between light hitting the subject in one concentrated beam and the same amount of light spread out over a wider area. In addition, the further the diffusing material is from the source of the light, the more diffuse it becomes.
Making your own diffuser
For cinematic lighting on a budget, you can use various types of ordinary material as diffuser. Paper, tracing paper, baking paper and so on. Just be careful as lights get hot and paper can catch fire when it gets hot.
Here, I made a small softbox for my VIJIM VL-1 mini LED lights from a cereal box and a piece of printer paper. I cut a hole in each side and taped the paper over the big hole.

Subject Distance from Light Source
As well as using diffusing material, bear in mind that the further the light is from the subject the more diffuse the light. So, in cramped locations, using a diffuser becomes even more important.
Moving Subjects
Lighting stationary subjects takes time, depending on how much you want to perfect the scene. Lighting a scene well might take the careful positioning of 6 more lights. Which is hard enough when the subject is stationary…
So what do you do if the subject is moving?
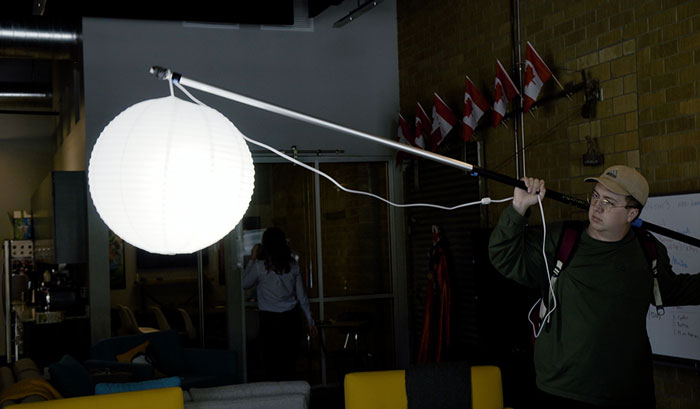
When a subject is moving and the camera is following then we need to think more carefully about how to light the subject. When we were making Kosmos, cinematographer Andy Alderslade suggested we use an ordinary Chinese lantern lamp shade.
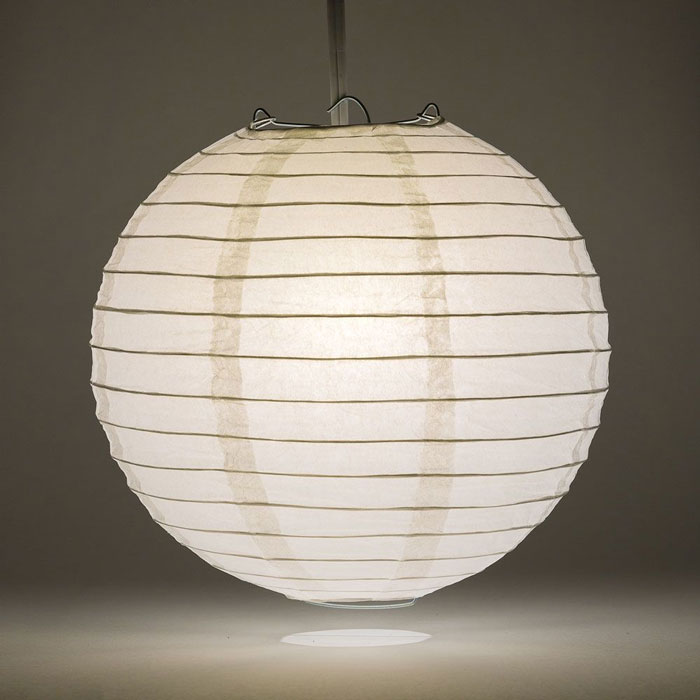
The light is placed inside the lantern and then mounted on a pole. A crew member then walked behind Andy, holding the light over the scene. In other words, using this method you create a mobile light complete with diffuser.
Check out Premium Beat’s tutorial on how to set up a wireless one of these.
Of course, you can also use a Chinese ball lamp shade for stationary lighting too.
Be Creative
Remember though that ultimately painting with light, like painting with paint, is a creative process. And creativity requires that you invent, imagine and generally make up your own way of doing things.
Use colour, use light, use shadow the way you want to use it the way you believe is best for the story you want to tell.
Eager to learn more?
Join our weekly newsletter featuring inspiring stories, no-budget filmmaking tips and comprehensive equipment reviews to help you turn your film projects into reality!