How to Record the BEST Time-lapse with an iPhone
One of the iPhone camera modes is called Time-lapse. This mode allows us to compress time. In other words, when you watch the video everything will be moving dramatically faster.
You may have seen this effect used in TV and movies.
The first thing you need to do to record a time-lapse is mount your iPhone onto a tripod. The thing with recording timelapses is that the camera needs to be as still as possible. If you already have a camera tripod you can use a simple clamp, cheap and easy to get hold of online.
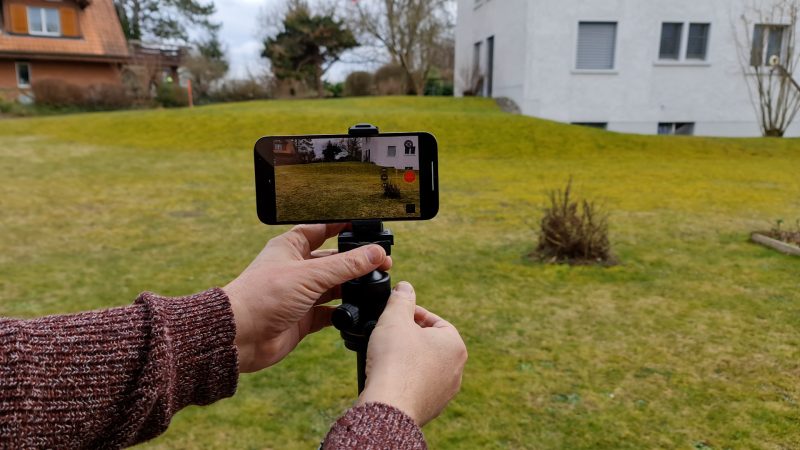
You can record a timelapse anywhere but try to film a scene which has some movement going on. Something like cars or clouds passing. If you film a landscape and there are no clouds in the sky, then try to film a sunset so that something is changing during the shot.
Otherwise, your timelapse might simply end up looking like a still photo.
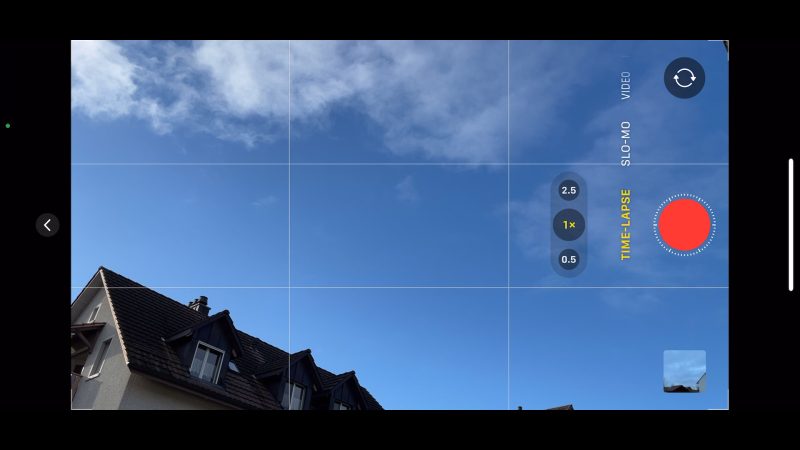
If you have more than one lens option, choose the one that suits your shot best. For this shot, I have quite a nice dramatic sky and a strong wind pushing those clouds along, so I’m going to use the ultra wide angle to get more of that sky in.
Set Exposure
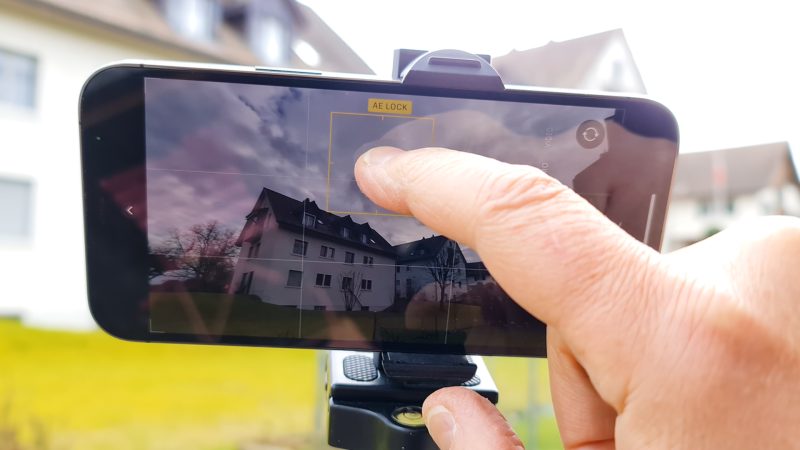
Next step is to set exposure. I recommend you lock exposure so that the camera doesn’t keep adjusting during the shot. It just looks less smooth and cinematic when exposure keeps adjusting.
Tap and hold where you want the focus to be set and wait for it to lock. I’m just tapping on the sky area, here. Now I can use the slider to fine tune. I usually adjust down a little bit. But it depends on the scene.
Now tap the record button and leave it running. Make sure nobody moves or knocks into it while it’s recording or the shot might be ruined.
Tip: You Might Know This…
With a phone like a Samsung, you can choose the frame you want to shoot depending on the scene. But an iPhone decides how fast to speed up the video depending on how long you recorded.
The final video will usually come out at between 20-40 seconds, no matter how long you record. Therefore, the longer you record, the fewer frames will be captured each second, and the more speeded up the final effect will be.
The first one I recorded I left for 10 minutes and it came out at 24 seconds. The second one I left recording for about 30 minutes and it came out at 33 seconds. But if you were to record for say 3 or 4 hours (or even longer) time would be noticeably more accelerated.
Smartphone Video – Beginner to Advanced
If you want to know more about smartphone filmmaking, my book Smartphone Videography – Beginners to Advanced is now available to download for members on Patreon. The book is 170 pages long and covers essential smartphone filmmaking topics:
Things like how to get the perfect exposure, when to use manual control, which codecs to use, HDR, how to use frame rates, lenses, shot types, stabilisation and much more. There’s also my Exploring the Film Look Guide as well as Smartphone Colour Grading.
Members can also access all 5 episodes of our smartphone shot Silent Eye series, with accompanying screenplays and making of podcasts. There’s other materials too and I will be adding more in the future.
If you want to join me there, follow this link.
