How to Shoot the Best B Roll with a DJI OM 4 or Osmo Mobile 3
If you have a smartphone and gimbal, you can shoot professional level B roll. Just add a monopod or a sturdy selfie stick, and you can shoot some epic crane shots too.
In fact, this is all we used when we were commissioned to shoot a music video last year in Switzerland. And they loved it so much, they want us to make another one this year.
Back then, I didn’t have a monopod, so I made do with a pole and a clamp. But I decided to splash 30 bucks on a proper one this time. Before you shoot some B roll, you should probably understand what it is (if don’t already).
What is B Roll Anyway?
The term B roll comes from film and TV production. There used to be A roll and B roll, where your A roll was the main footage and the B roll was stuff you could cut to. So B roll was generally silent footage, establishing shots, close up of relevant objects and so on.
Filmmakers don’t really talk about A roll anymore. But the idea of B roll has stayed with us. And it’s generally come to mean footage shot without consideration to sound: establishing shots, moving shots, slow motion, timelapse, hyperlapse, a series of product shots and so on.
Why do we need B roll?
If your A roll is someone talking to camera, adding B roll keeps your viewers more engaged. It also helps to illustrate your subject matter. It can simply be there to entertain or inspire. You’re only limited by your imagination when shooting B roll. But the trick is shooting shots which will edit together well.
These days, people are making whole videos made up of what they call “B roll”. But there’s no A roll, so I guess it should just be called “roll”, or something.
How to Shoot a ‘B Roll’ Story
“It’s not your equipment it’s what you do with it. Story is the most important thing.” We hear this all the time, don’t we?
But I think it’s also a thing people struggle with. If you feel a bit lost when it comes to this side of making videos, I have a simple trick to help you out.
All you have to do is think up a theme. Just one sentence that sums up what you want to say in your video. Because if you don’t have anything to say then, really, what is your video for?
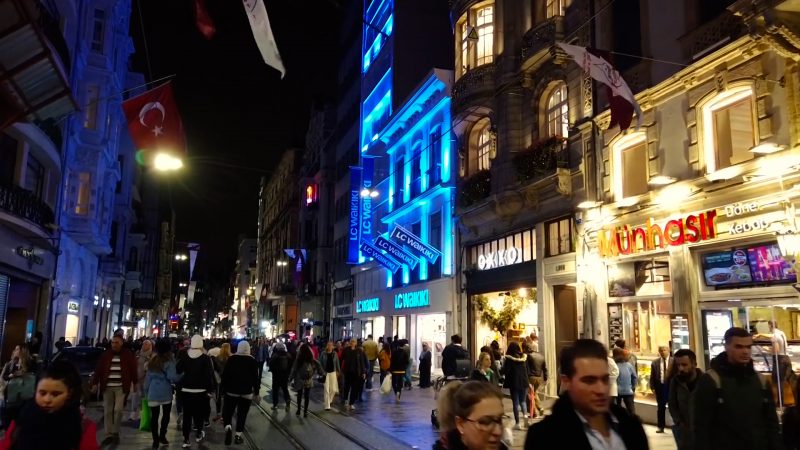
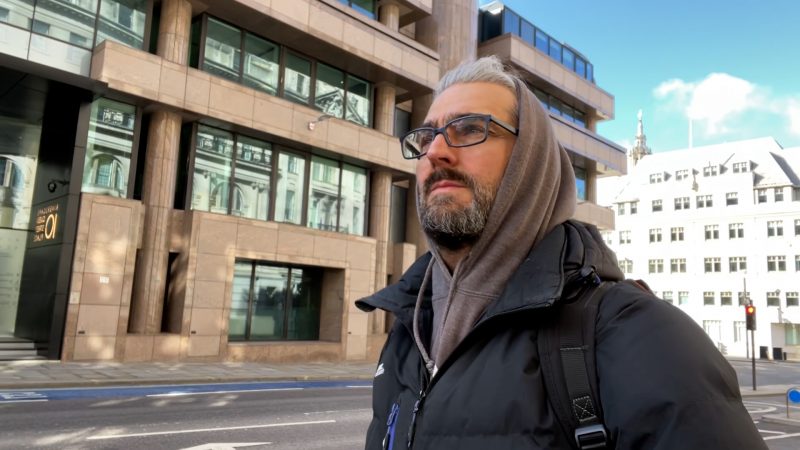
Let’s say your theme might be: the buzz of the city. Now all your shots need to try to communicate that idea. That might mean quick shots, focusing on the fast pace of urban life, edited to upbeat music.
Once you have a theme, try making a rough shot list. It just gets your mind thinking about the shots you want before you start filming. You don’t have to stick to the list 100% but it gives you a starting point.
Having a story theme helps you focus the content of your shots. And this will make a huge difference to how your audience perceives your final video. So it’s really worth taking that time to decide your theme and then sticking to it.
The Setup
As for resolution, it’s up to you whether you shoot 4K or 1080p. If you have the capability and the editing power, shoot 4K. But it’s not essential.
If you want silky smooth footage then I’d say it’s more important to shoot at 60fps than 4K. 1080p at 60fps slowed to 24fps will look great.
But don’t shoot everything at 60fps or 120fps. Vary your frame rates, so the slow motion shots have more impact. A variety of shots also helps to keep your audience engaged.
That said, some people shoot everything at 60fps, then decide whether to use it for slow motion or not when they edit.
Depending on the shot, think about locking exposure and focus.
How to Shoot an Establishing Shot
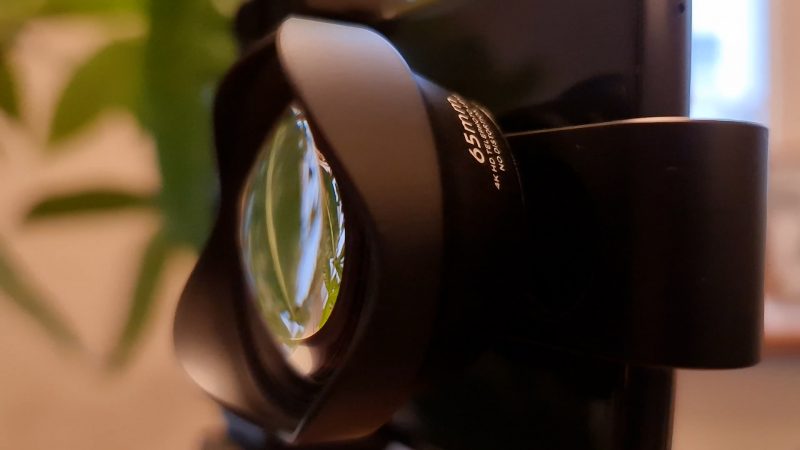
If your smartphone has an ultra wide, then switch to that for the establishing shot. If you don’t have an ultra wide angle in your smartphone, then maybe think about adding a conversion lens.
Smartphone lenses are pretty wide anyway. So you can still shoot a great establishing shot.
An establishing shot is normally used to set up the rest of the video. It says, “here we are in…” wherever you are: on a sunny beach, at a remote medieval castle, or a skate park and so on.
This is the perfect time to use that monopod. Just screw the gimbal to the top with your smartphone. Set your smartphone to shoot 60fps so you can slow it down in the edit.
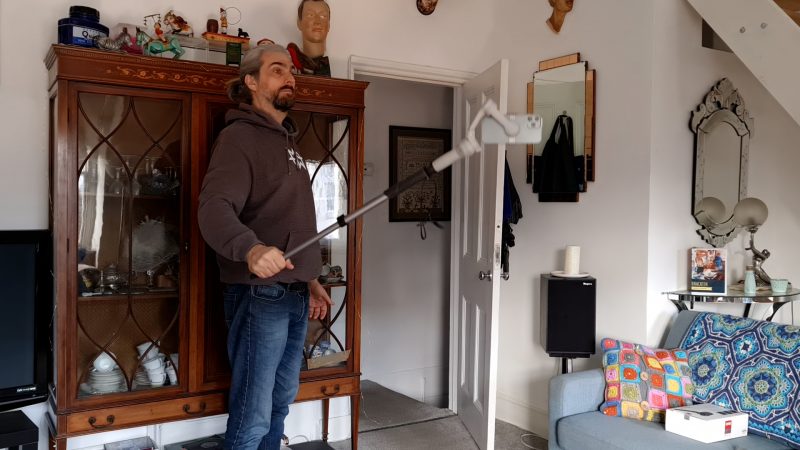
Set your DJI OM 4 or 3 to TILT LOCK mode. This means that, as you lower or raise the camera, the gimbal keeps the camera pointing forwards.
Hit record and lift the gimbal into the air. Now you can slowly lower or raise the camera. Raising the camera will be more like a reveal shot. With the DJI Osmo Mobile 3 or OM 4 you need to go up and down sideways, because of the way the gimbal is designed.
However, if you want to be more mysterious, think about starting with some nice close ups before finally revealing where you are. That can be a really effective way to build anticipation. Especially if you use music which starts low key and builds.
Then what?
So we have our establishing shot that we can use to set the scene. Obviously there’s many types of shots we can use to make up the rest of the video.
As a general rule, I look to get a good variety of shots. There are 2 shots which are the most common gimbal shots. The left – right pan and the walk forward.
There’s nothing wrong with these shots. But I’m gonna assume you’ve got those covered, because that’s the first thing people shoot when they first buy their gimbal. Now, if you want to make the step up, you’re gonna need some different shots to add to the mix.
Moving shots
Apart from the walk forward shot, here’s a few other moving shots to think about.
Reveal Shot
Moving from behind an object to reveal the subject of the frame.
Level 2 Reveal Shot
Boost this shot to the next level by moving from a close up of something relevant to your theme to reveal something else relevant to your theme.
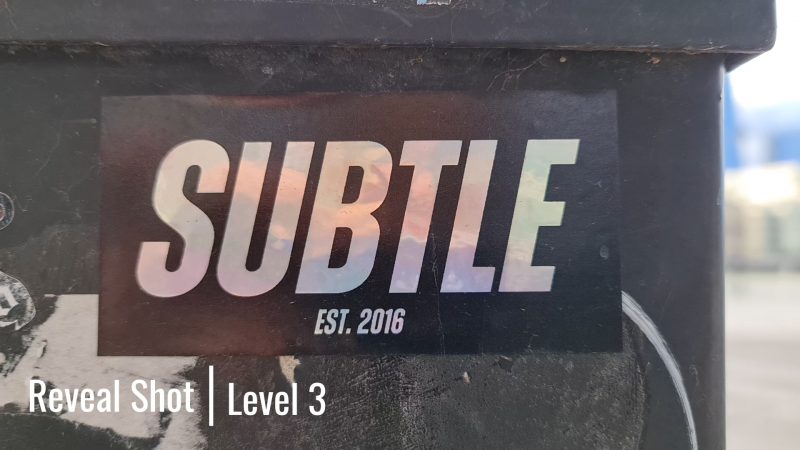
Level 3 Reveal Shot
This shot will be even more awesome if the first image somehow makes a comment on the second. Can you play one image off against the next?
Subject Tracking
Tracking, or following, a subject makes those walking shots more relevant to the audience. It helps to put the audience in the space in the frame. When we see someone experiencing the walk, we put ourselves in their shoes and experience it with them.
Basically, it makes the whole experience more relatable. What do you do if you’re filming alone? I just start stalking complete strangers and hope they don’t notice…
But seriously, if you brought a human with you, this is their moment. Of course, you can put yourself in the shot. Either using the selfie cam or by setting up your gimbal using the tripod. If it’s safe to set up your gimbal this way, you can even use the Mimo tracking feature to get the camera to follow your movement.
Use the Foreground
Again, most new gimbal owners grab a lot of wide angle shots, which take in a broad view. But this doesn’t really give the audience anything specific to look at. And if you’re not focused your audience won’t be either.
When you use the foreground, you can get close up to something interesting that fits your theme. A slow move in, at 60fps for slow motion, can look really cool.
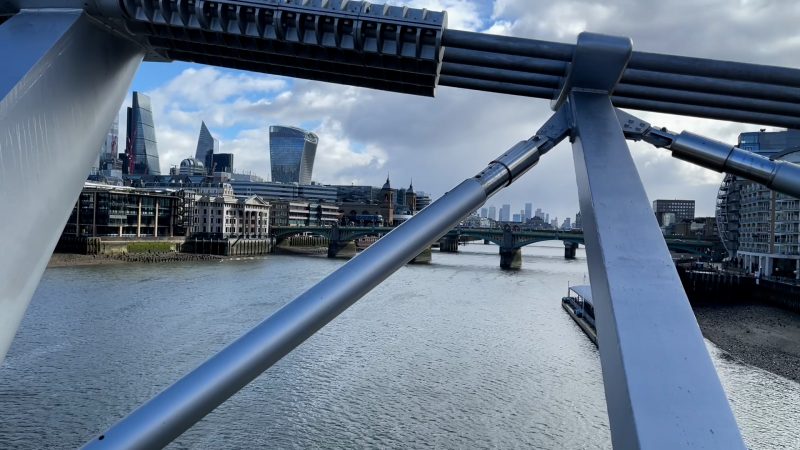
Another use of the foreground is to create depth in the frame. That broad wide angle sweep, well it’s like a picture postcard – it has no depth. Foreground creates depth, but don’t forget about the background.
Think about how the foreground and background work together. Are you going to contrast, a grungy foreground with a sparkling background? What do you think?
Circle it
Find an object that’s part of your theme and circle it. Moving around a foreground object makes it more 3 dimensional.
Combine movement
Moving your gimbal around is one thing. That’s why you bought it, right? But what really makes your shots stand out is combing camera movement with movement in the frame.
If you’re filming a scene where there is some movement going on, use it. Follow it, move with it, or move in the opposite direction to create a different dynamic in the shot.
If there’s no movement, try creating some yourself. If you’re filming solo, you can even try filming your feet as you’re walking. This gives you something to cut into those walk forward shots.
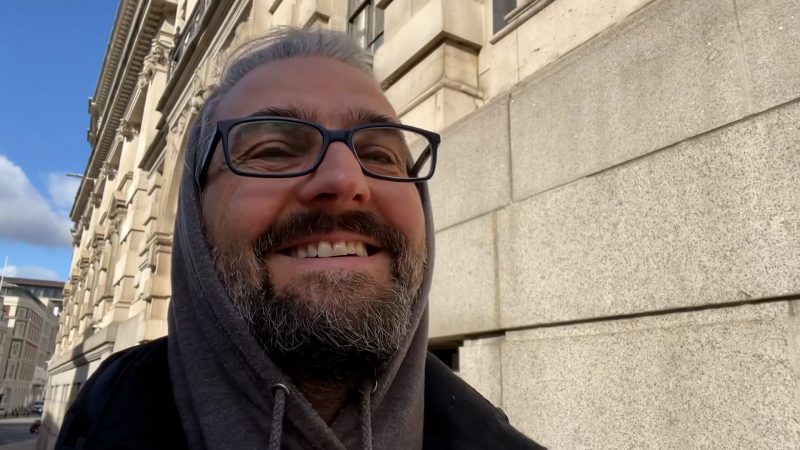
Don’t forget the Emotion
Emotion is key to engaging your audience. You can have a video full of cinematic slow mo shots, but your audience will be left cold if there’s no emotion. How can we add more emotion to our B roll?
It can be as simple as showing your subject reacting to things. Or if you’re filming alone, then show yourself and try to show how you feel about your location. Whether you love it or hate it, make sure to show it.
Add Movement in Post
If you are filming yourself, you might have the gimbal in a fixed position. Basically, just using it as a small tripod. But you can still add movement to the shot in your editing software.
For example, use keyframes to add a slow zoom in to the shot. This gives the impression the camera is moving towards the subject. If you shoot 4K and master in 1080p, you have the spare pixels to do this without losing video quality.

More Monopod Uses
While I was out shooting, I found I kept the monopod attached to the gimbal, almost the whole time. It’s really useful to have this extendable arm at the ready to grab something interesting.
I was just walking through this pathway, going towards the famous Tower Bridge, and I saw this metal sign hanging down. So I thought, that might be cool to do a walk forward shot past that sign, like if you had a drone.
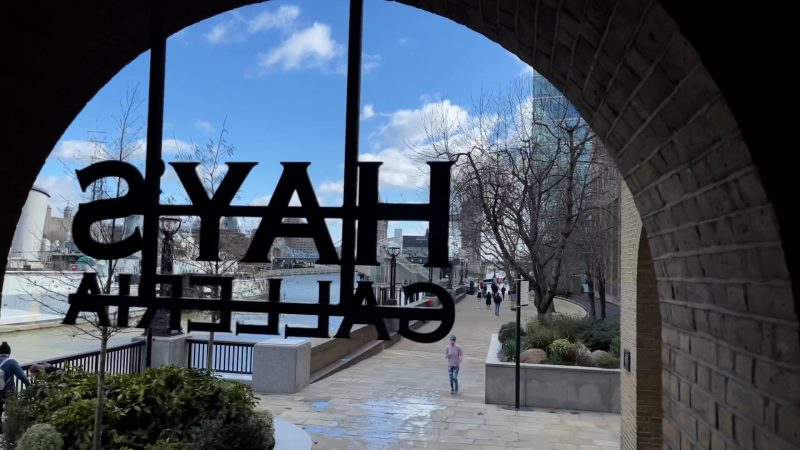
And there were a few other instances where having that extra reach meant I could get a shot I wouldn’t normally be able to get. This reveal shot, moving up to the round opening. I just held the monopod and pushed upwards.
Another thing – having the weight helps to smooth your shots even more. Loosen your grip a little and let the monopod just hang. You know the funny thing is weight actually helps you get a steadier shot. That’s why smartphone shot footage sometimes gets very shaky, like every little hand vibration gets picked up.
The phone is so light and this gimbal is so light. But add a monopod or a selfie stick and it will help to weigh it down in your hand. As well, if you grip your gimbal too tight, your hand might start shaking, because you’re contracting your muscles. So that’s another tip – try not to grip your gimbal too tight. To get a smooth shot you need to be relaxed.
Smartphone Video – Beginner to Advanced
If you want to know more about smartphone filmmaking, my book Smartphone Videography – Beginners to Advanced is now available to download for members on Patreon. The book is 170 pages long and covers essential smartphone filmmaking topics:
Things like how to get the perfect exposure, when to use manual control, which codecs to use, HDR, how to use frame rates, lenses, shot types, stabilisation and much more. There’s also my Exploring the Film Look Guide as well as Smartphone Colour Grading.
Members can also access all 5 episodes of our smartphone shot Silent Eye series, with accompanying screenplays and making of podcasts. There’s other materials too and I will be adding more in the future.
If you want to join me there, follow this link.
