True Cinematic Smartphone Gimbal Moves
In this post I’m going to look at simple but effective cinematic shots you can create with a smartphone gimbal. While different gimbals have different features, all these shots should be achievable with most 3 axis gimbals.
With most modern smartphones, the inbuilt stabilisation is so good you often don’t need a gimbal any more. However, the gimbal can achieve movement you can’t achieve with your hands and arms alone. For example, that 3-axis gimbal head allows you to swoop from the ground to maybe a meter above your head in one smooth movement.
Those who say their phone’s inbuilt stabilisation is a gimbal killer are probably only thinking of gimbals as nothing more than a handshake remover. But smart filmmakers use them as low-cost Steadicams or jib arms, which would otherwise cost hundreds or thousands to hire and operate.
A (Very) Brief History of Camera Movement
Cinema has been around for over 100 years. For the majority of that time, camera movement was relatively limited. Movement of the camera had started to develop during the silent era. But the invention of synchronised sound initially involved placing the camera in a sound-proofed box, and cinematic camera moves were temporarily suspended.
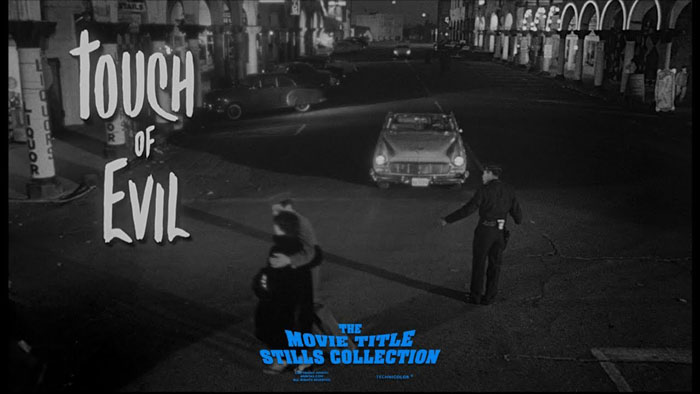
For me, a motionless or slow moving camera is what I think of as more classical cinema, like a painting by an old master. However, legendary filmmakers like Orson Welles introduced some memorable camera movements from the 1940s onwards.
The invention of the Steadicam liberated the cinema camera from needing to be placed on a tripod, jib arms or dolly tracks. While these pieces of standard filmmaking kit enabled the camera to move (and are still in use today), they are expensive, involve lots of crew and inhibit spontaneity.
With smartphone cameras being so small and lightweight, in combination with a relatively cheap 3 axis gimbal, cinematography has never been so flexible. That said, the style and quantity of camera movement you include in your work depends a lot on what kind of film you want to make.
Certainly, it’s tempting to fill our films with eye catching chaotic camera moves. But filmmakers usually keep movement subtle so as not to take people out of the story. Therefore, a skilled cinematographer will avoid drawing attention to the camera by having it flying around wildly.
Simple Follow
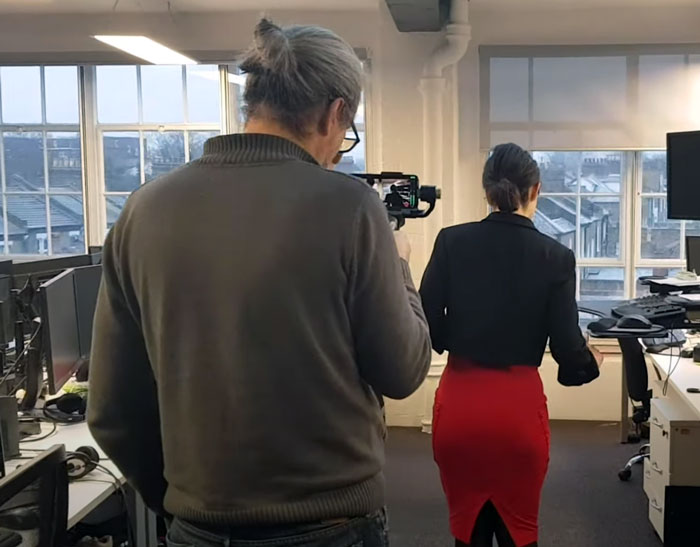
A gimbal tracking shot is pretty simple – just follow the subject with the camera. In cinema, this shot became used after the invention of the steadicam which allowed the camera to move almost as freely as a person moves. Some see long tracking shots as adventurous moves by visionary directors.
These days, anyone with an iPhone and a $100 gimbal can achieve similar results.
Following a subject this way gives the viewer a similar point of view to the subject. We experience their journey as they experience it. Positioning the camera to the side of the subject, it’s as if we are accompanying the subject on the way to their destination. Placing the camera directly behind the subject puts us closer to the experience of the subject and gives the audience a sense of being the subject, to a degree.
Drop Down
Before lightweight cameras and gimbals, this shot could only be achieved using a jib arm. This tool is still part of the professional filmmakers kit, but you need to budget and the space to assemble it.
Essentially the shot involves starting high and slowly dropping the camera to a lower position. Having the camera descend from a higher position is a way of introducing your audience to a story or scene in a story.
Note that movies sometimes start with the camera swooping down as an introduction and then end with the camera pulling away and upwards. Well, it makes sense to start wide and move in at the beginning. In this way, the audience arrives at (and departs from) the story in a magical way, like invisible ghosts.
The first part of the shot orients the audience, then moving to focus on a particular character or element contained within the wider picture. Basically, as a filmmaker, you’re saying “this is where the story takes place, now look at this”.
Rise Up
Basically, this is the reverse of the drop down shot and often used at the end of the sequence or story. Use both these shots any time you want to take the audience from a regular angle to a wider overview (or vice versa).
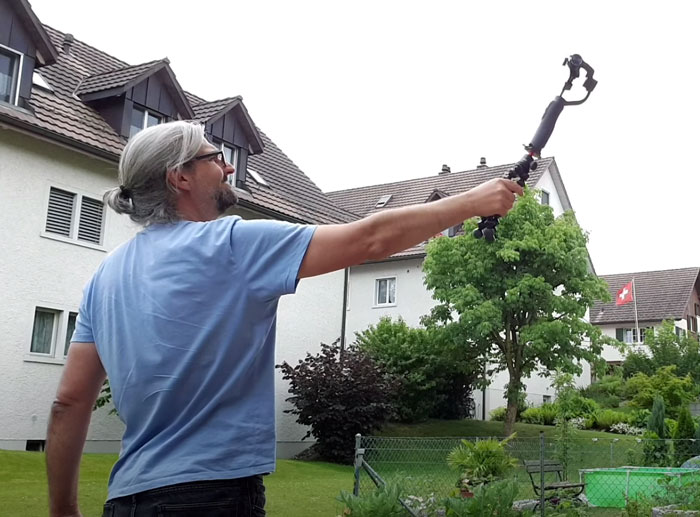
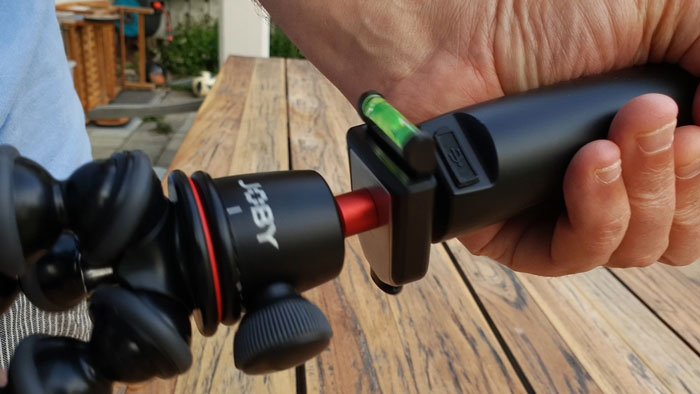
To add even more height to these shots you can extend the gimbal arm. Most gimbals have a standard screw mount at the bottom, which should fit a tripod or monopod.
Circle
Use your gimbal to enable you to circle your subject more smoothly. Circling the subject is a shot which has been used in movies and TV for decades. It used to involve the lengthy process of setting up a circular track around the subject, however we can now achieve these shots with a low cost 3 axis gimbal.
Circling a subject adds style and gives a scene a more fluid feeling, compared to cutting back and forth between static shots. The shot also gives the audience a more 3 dimensional view of the scene, compared to flat, motionless shots in one direction.
For example, a scene put together from a series of fixed angle shots and careful lighting design. But by circling the scene the audience sees it from a more fluid point of view. This also makes lighting harder, as lighting equipment might end up in the shot.
So, either you accept your lights will appear in shot, limit the movement so as to avoid them appearing in shot or shoot in a location that requires no lighting.
Approach
With an approach shot the camera moves slowly in towards the subject. This is a very common shot in movie making, which in the past was performed by setting up a track.
Often, when on tracks, a cinematographer will move the camera in on a subject so slowly it’s almost imperceptible. But this movement can add subtle intrigue and tension to a shot.
To recreate such a shot using a handheld gimbal is pretty hard, because it requires a very steady movement. However, we can also try faster approach shots. If we think of a shot being in 3 parts, this shot takes us from a wide view to a close up in one movement.
Flyover
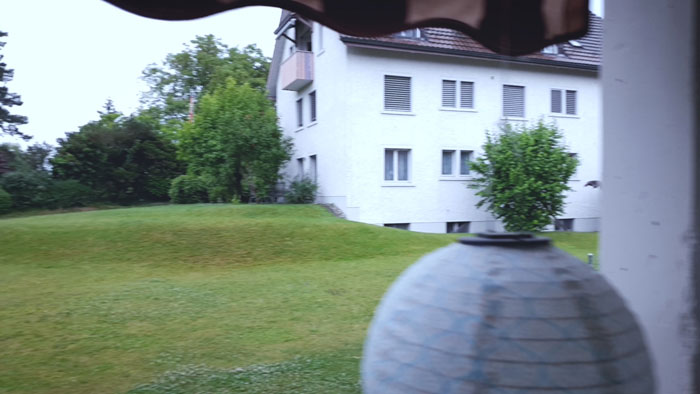
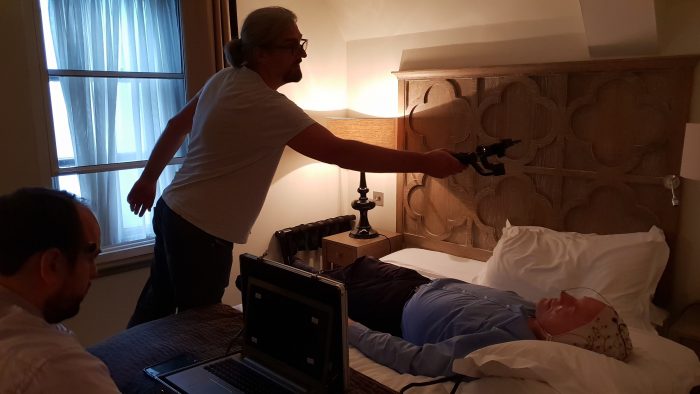
You can use your gimbal to have your camera fly over the subject, as if it was a drone. While performing this with a heavier camera is more complicated, this is the perfect way to make the most of that lightweight smartphone camera and gimbal.
In the 3rd episode of Silent Eye, The Unlocking Thought, I used a flyover shot with the actor Henk laid out on the hotel bed, having his mind read. The shot added interest for the viewer while not too much else visual is happening in the scene, at this point.
The shot was quite tricky as the gimbal is not quite designed for this position and kept twisting in different directions. Plus, I didn’t extend the gimbal handle so I was reaching across Henk with my arms extended and it was quite difficult to keep the shot steady. Having said that, the gimbal handle still gave me some extra reach I wouldn’t otherwise have had.
Combine Movement
It’s easier to use your gimbal to move around, approach or pull back from a stationary subject. However, if you want to add extra style and interest to the shot, then try combining gimbal and subject movement.
The obvious one is when following a subject walking, with both camera and subject going in the same direction at the same speed. However, if you have the gimbal and the subject going in different directions and different speeds, things start to get a lot more interesting.
In this approach shot in ReGen, episode 2 of Silent Eye, I had the actors move in from behind the camera, while I moved slowly forward with the camera on a gimbal. It was actually an idea I’d seen in a movie and thought it was a cool shot we could try with just a smartphone and gimbal.
In this circle shot from episode 4, I follow the actor as both the car and the actor are moving. We planned the shot to work this way, so that all 3 of us (actor, camera and car) are moving in different directions but come together as the actor climbs into the back of the car.
But you can get really creative here and you’re only limited by your imagination. Combining subject and camera movement really gives you endless options.
Use SlowMo
Either shoot in slow motion or add slow motion in post. Using slow motion adds extra style and smoothness to the shot. While slow motion can be overdone, it’s great for travel or product videos.
Use Scene Depth
It’s tempting to stand back from a scene and choose an angle which brings everything you want in the frame, but at the same distance from the camera. This shot makes everything look flat. That’s not to say this is a bad shot, but it’s not the only shot in town.
Choosing a shot with objects in the foreground gives you extra depth and interest to the frame. When the foreground moves across the frame faster than the background, it makes the shot feel more 3 dimensional. Sometimes a scientific sounding name is used to describe this: the parallax effect.
Essentially, the closer the camera is to the foreground object, the more exaggerated the effect. In my opinion, the parallax effect is more stylish if the camera is moving in a straight line, rather than circling the subject. If you circle the subject, then you’ll be reducing the effect because the subject remains in the same position while the background moves.
Alternatively, try moving the camera through or past foreground objects.
Reduce Up & Down
When we move with the gimbal, our steps create an up and down movement in the shot. It might be more or less noticeable depending on how fast you are moving. While it’s pretty much impossible to remove this movement completely, you can reduce it.
Ninja Walk
While it’s now known as the ninja walk, I suspect no ninjas actually walk like this. Unless they’re retired ninjas with arthritic knees, that is.
Put simply, the idea is to walk while keeping your knees bent. When you straighten your legs and lock your knees, it adds that little bobble movement. In addition, roll your feet from toe to heel as you move forward.
Now, try to take shorter steps as well. When you take long strides, the up and down movement is more exaggerated. With short steps, that movement is reduced even more.
Add wheels
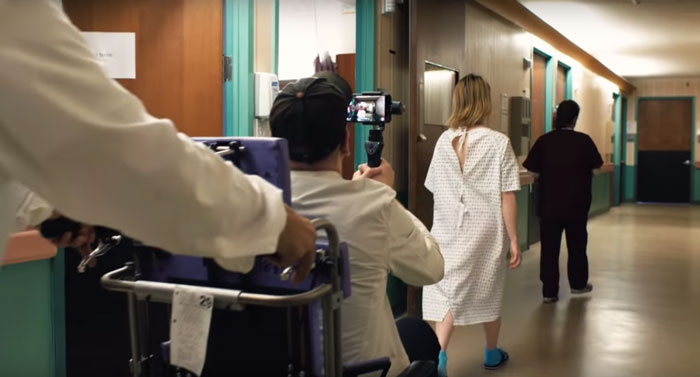
If you want the kind of super smooth movements achieved by professionals, you can add wheels. For example, an old indie filmmaker trick used for decades is to sit the camera operator in a wheelchair.
Oscar winning director, Steven Soderbergh used this technique when shooting his iPhone feature film Unsane. Before that, Tangerine director Sean Baker combined a non-motorised gimbal and bicycle. In a setup like this, the up and down bobbling is completely removed. Having said that, riding a bicycle while operating a camera mounted on a gimbal might break some health and safety rules somewhere, so be careful.
I’ve also known filmmakers use skateboards and shopping trolleys. Basically, if something has wheels then it’s probably possible to use it for smoother shots. Of course, you also need to be shooting on a flat surface.
Be Inventive
You don’t just need to stick to a simple one move shot. The beauty of a 3 axis gimbal is you can explore a very fluid shooting style. This means you can combine different shots into one move, a bit like a gymnast performing a floor routine.
For example, in this shot from episode 3, I started with the following shot as normal. In fact in the first few takes I simply followed Roger all the way to the door. Then, I had an idea to make it more interesting. So, as the actor turned right towards the front door of the house, I stopped, turned and lifted the camera higher.
The way this shot works now, we start in close but then pull out to reveal where we are. So, at first our audience will be curious about where this close up shot will lead. Then pulling out to a wider shot brings us to an establishing shot of the suburban house where the next scene is about to take place.
Does the shot even need a gimbal?
My last tip is to ask yourself if the shot you want even needs a gimbal. I’ve achieved some pretty smooth shots just using my phone handheld.
Thinking of buying a gimbal? Checkout our comprehensive Smartphone Gimbal Buyer’s Guide.
Eager to learn more?
Join our weekly newsletter featuring inspiring stories, no-budget filmmaking tips and comprehensive equipment reviews to help you turn your film projects into reality!
Simon Horrocks
Simon Horrocks is a screenwriter & filmmaker. His debut feature THIRD CONTACT was shot on a consumer camcorder and premiered at the BFI IMAX in 2013. His shot-on-smartphones sci-fi series SILENT EYE featured on Amazon Prime. He now runs a popular Patreon page which offers online courses for beginners, customised tips and more: www.patreon.com/SilentEye


