8 Cinematic Shots For Product Videography using a Phone
In this article, I’m going to show you how to shoot a product video at home with a smartphone.
No studio. No big lights. No professional camera.
I’m doing it all in a normal living room.
I did buy some extras
Some black shiny perspex for about £35.
A lazy Susan turntable for about £10.
A grey bed sheet for £5 to use as a background.
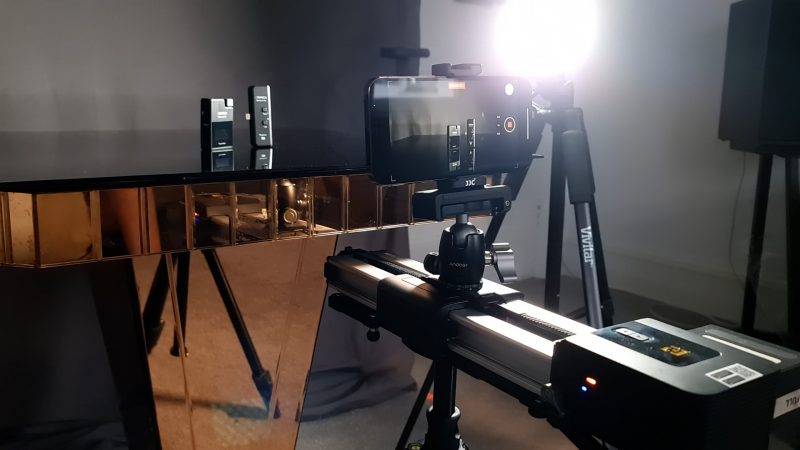
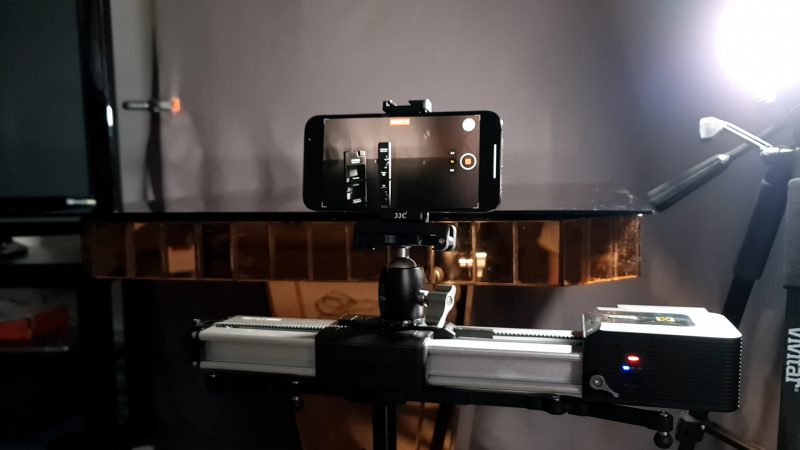
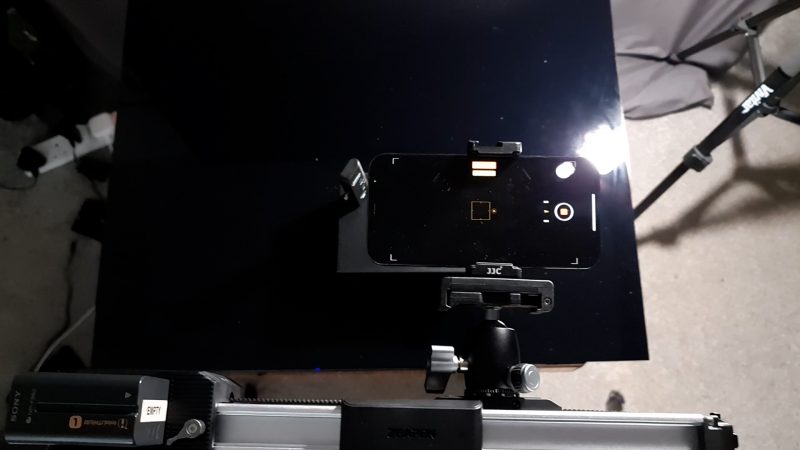
So, I used this camera slider, which was sent to me by Zeapon to try out. But you don’t absolutely need a slider.
I’m going to explain 8 great shots you can use in your product videos.
1. Push in
The push in is a “must have” product videography shot. They show up in just about every professional product video. Which is no surprise, as this shot gives your viewers a closer look at the product.
In the above video, I used a Zeapon slider, which allows me to get a very smooth, gliding shot. Now, there’s tons of sliders on the market at various prices. There’s also sliders that simply put your smartphone on wheels.
But if you don’t have a slider, you can try to get this shot by hand. Set your smartphone to shoot 4K @ 60fps. The 4K resolution allows you to use stabilisation software later and still get great quality. The 60fps allows you to slow the shot 40% to 24fps, which makes the shot smoother too.
If you do this by hand, try to use a falling movement. This means you allow yourself to fall forward (without actually falling over) and this creates a smoother motion.
2. Pull back
Another essential product videography shot is the pull back. This shot is basically the reverse of the push in. But it has a bit of a different function.
The pull back can be used more like a reveal shot, especially if you start with a close up. A reveal can be very dramatic and really help to leave a positive impression of the product.
Again, I just used the slider for my shot. But if you do this shot by hand, you might find it’s easier to shoot a push in falling forwards and then reverse the video in the edit.
3. Sideways Dolly
The sideways dolly is simply moving left to right. You can do this without the camera pivoting, so the camera just stays at a fixed angle.
The fixed angle can be really great for extreme close up shots of the product, so it looks a bit like the spaceship in the opening shot of Star Wars.
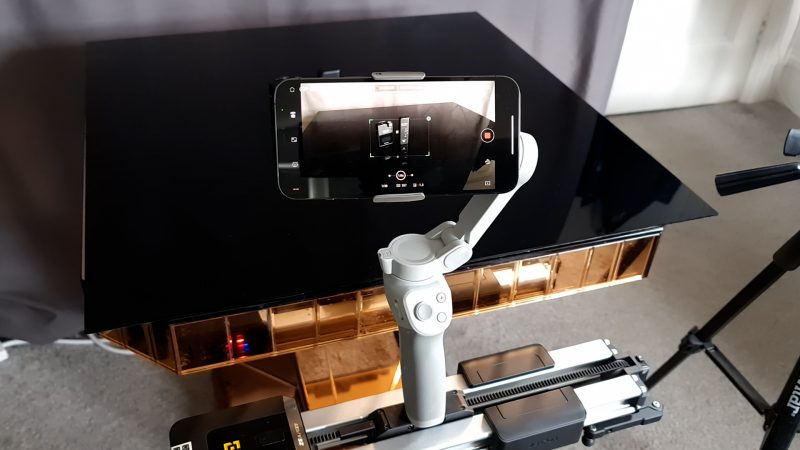
To add some serious professional-level product videography movement, you can pivot the camera as you move left and right. One way to do this is with some kind of fluid ball head. But you can also mount a smartphone gimbal to the slider and use the object tracking feature.
Start the slider moving and the gimbal will pivot the camera automatically.
Also, think about your angle. In some sideways shots I used an angle up, which makes the product look bigger, more impressive and dominating the frame. The unconscious message to the viewer is that this is a superior product.
4. Moving Light (glimpses)
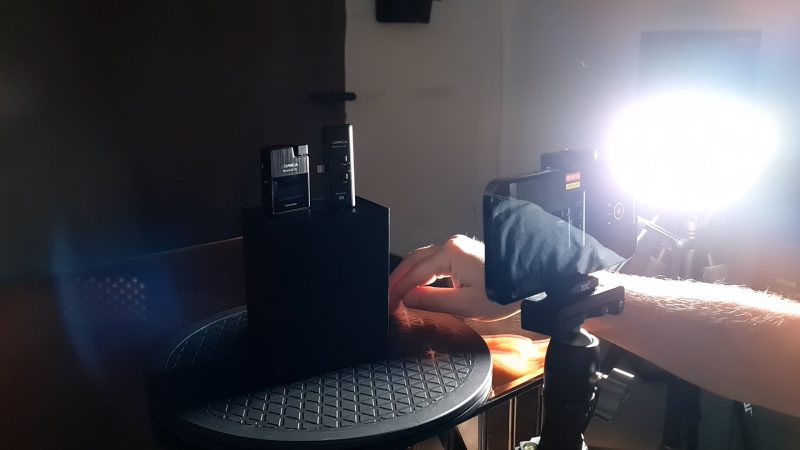
This is one of my favourite ways to create really exciting product videography shots and it’s very easy. I have the smartphone fixed on a tripod, then lock the exposure and focus on the product. Now, pull down exposure until it goes black.
Make sure the room is dark first, as well.
This little light is perfect for holding in your hand. Start recording and move the light to catch parts of the product. For this video, I wanted to create little, teasing glimpses of the product, which I used mostly at the start to build expectation that something cool is about to be revealed.
I really enjoy creating these shots because moving the light around is a bit like painting. It’s more organic. And it adds an organic element to the video as well. If every shot is just a smooth slider shot, your video can look a bit robotic.
5. Flyover
To create a flyover shot, the camera is angled down from above and then flies over the product. Again, I used the slider for this product videography shot. Luckily, this little Andoer tripod was able to carry the weight of the slider, which I wasn’t expecting.
If the product is standing up here, it adds a nice feeling of perspective as the camera moves over the top. Like a drone looking down at skyscrapers.
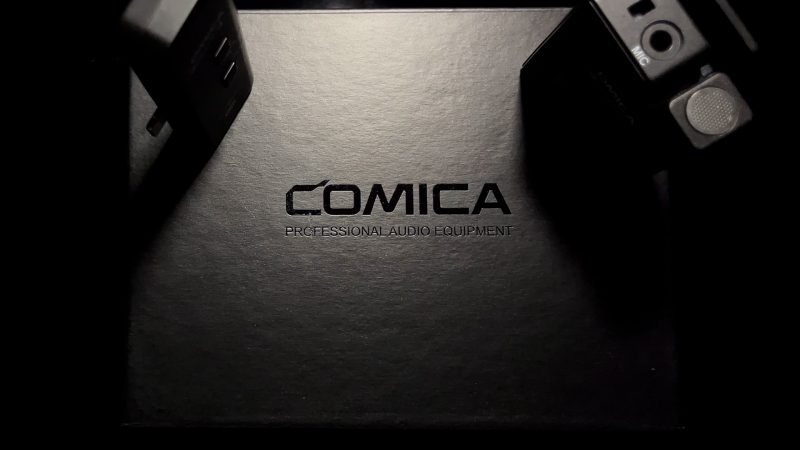
For my flyover shot, I decided to lay the Comica box down and use the moving light effect again. So this creates quite a cool shot of the Comica name embossed on the box. It never hurts to go a bit scifi when you are shooting tech products.
You have to think about what’s right for your product. This moving light effect might not be right for some kind of health food product for example.
6. Twist (using Premier)
Some gimbals allow you to create this shot. Tilt the camera so it faces forwards from the top of the gimbal, like a flashlight. Then use the joystick to rotate the gimbal.
But I didn’t create my twisting shots like that. I used the rotate setting in Adobe Premiere, adding keyframes to tell it how much to rotate.
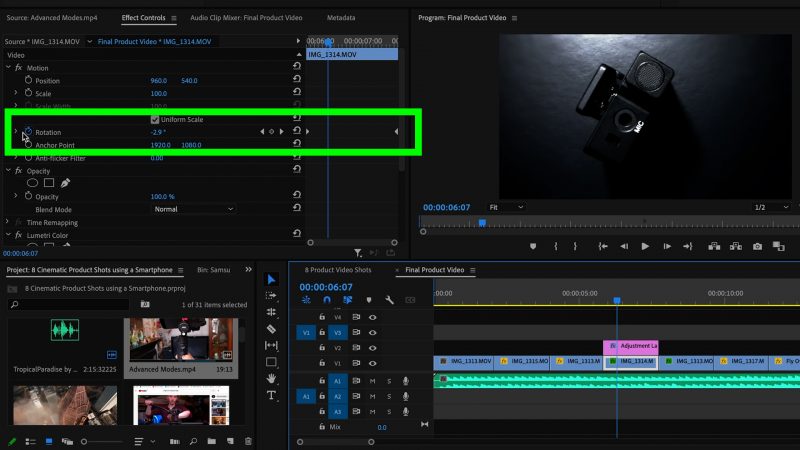
It’s much easier and more flexible to do it this way. You can add this kind of rotation to any shots to add an extra dynamic to the shot.
When it’s all edited together, the sequence looks less robotic. Or maybe it still looks robotic, but it’s a much more exciting robot with some serious moves.
I’m also programming in speed changes. But you can do this in most editing software. As long as it has a rotation function with keyframes, you’re good to go.
7. Freestyle
Freestyle is where you hold the smartphone in your hands and get creative. This is where smartphone filmmakers have an advantage over DSLR users. It’s so light and easy to hold, you can move anywhere and in pretty much any direction.
Set the resolution to 4K and 60fps. Leave focus and exposure in auto. Move freestyle and try to create something dramatic with swooping and gliding.
When you are editing, go through and find the best bit. You’re just going to use a few seconds. If it needs it, add some stabilization in post as well.
Like when using the moving lights, with this shot you can get really expressive.
8. Rotate (Lazy Susan)
You can buy motorised turntables, but this is the cheaper option. Just search for a lazy Susan.
The downside is you will need a hand free to turn it. But if you have your smartphone on a tripod, then you’re good. Get in close, start recording and now turn the product as smoothly as possible.
I shot mine at 60fps and slowed to 24fps. When editing, I chose this part of the clip because I got a little lens flare, just as the product reflects the light.
Eager to learn more?
Join our weekly newsletter featuring inspiring stories, no-budget filmmaking tips and comprehensive equipment reviews to help you turn your film projects into reality!