LightChaser Pro Smartphone Filter System by PolarPro
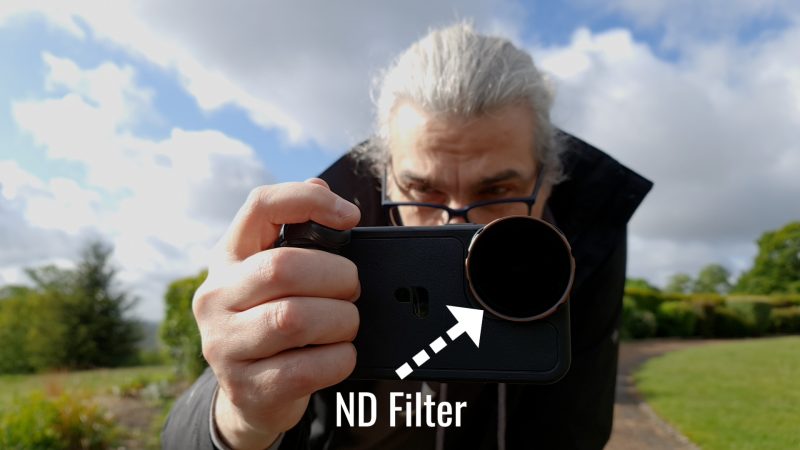
If you want the film look, and you’re filming in daylight, there’s simply no other option. You need one of these: an ND filter.
A company called PolarPro sent me this filter system for my iPhone 12 Pro Max to try out. It’s a case, a grip, a bluetooth shutter button and a variable ND filter. So let’s see if this can solve our overexposure problem.
What are ND Filters?
ND stands for Neutral Density. If you don’t know what a neutral density filter is, the simplest explanation is that they’re like sunglasses for your camera. A percentage of the light is filtered out and so prevented from hitting the camera sensor.
They come in different strengths, but this one is a variable ND filter. And that means you can adjust the strength of the filter to suit the light conditions.
Without a variable ND filter, you need to have a set of ND filters of different strengths. Obviously, that would be less convenient as you have to carry around lots of filters as well as stop to change the filter each time the light changes.
LightChaser Pro Filter System
There’s different items which you put together to create your setup. First the case clips on, pretty much like other cases. The case is quite solid and sturdy, with a soft felt backing to protect your iPhone.
There’s a grip, which clips into the case at various points and turns your iPhone into more of a traditional camera shape. Now you can grip your iPhone more securely. But it’s not just a grip…
There’s also this bluetooth trigger which mounts onto the grip, with a button at the top. Use this key to fix it securely in place. The grip part of the kit also houses the 1/4 “ thread for mounting to a tripod.
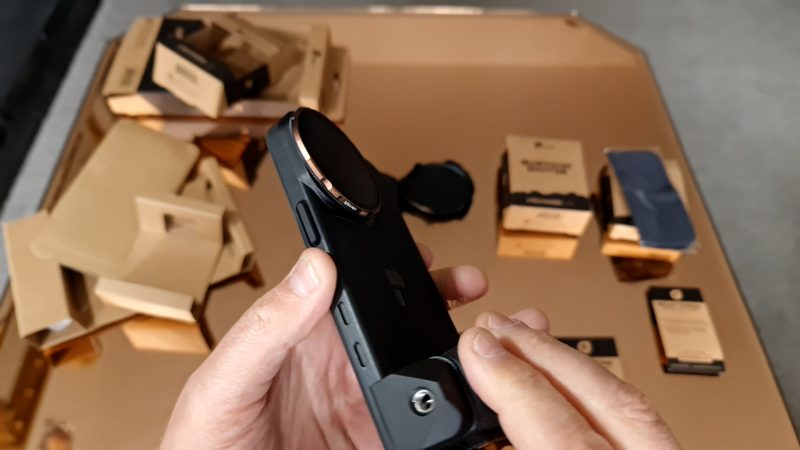
Finally, they have sent me a 3-5 stop variable ND. It comes in a nice hard case with a rubber lens cover as well. So it’s pretty nicely constructed compared to some of the cheaper filters for smartphones.
3-5 Stop Variable ND Filter
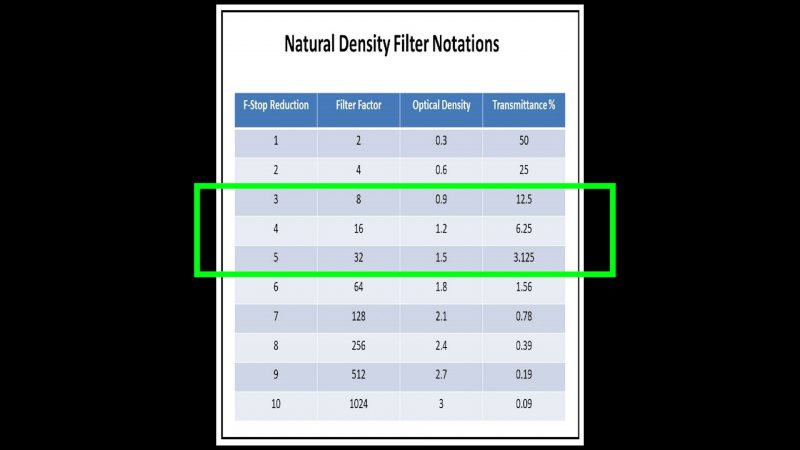
The 3-5 stop part means it reduces the light by 3-5 stops. A stop is a photography term where one stop is double or half the strength of the next stop along. So 4 stops cuts the light by twice as much as 3 stops.
This is why you see ND filters with different numbers, such as 4, 16, 32. In this case, 5 stops equals 32 and I suspect that is not quite enough to enable you to reduce your shutter speed to 1/50 or 1/48 in bright daylight.
The LightChaser Pro kit comes with very little plastic packaging, which is great. Just biodegradable cardboard boxes. So it’s nice to see a company thinking about the environment.
Also, each item comes with a little cardboard guide with clear instructions. Again, another nice touch.
To attach the grip to the case, you press down to open the jaws of the grip. Then it sits in the notches, which means you can place it at different points on the case and it won’t move around. So if you just want to use it to mount to a tripod, you’d probably use the middle notch.
Well, let’s try it out. I’m going to use FiLMiC Pro, which enables me to control exposure manually. Because, without a 3rd party app like this, you cannot control your iPhone’s shutter speed or ISO.
Connect the Trigger
To connect the bluetooth trigger, you need to switch it on and then you get a green flashing light. Now go into your iPhone bluetooth settings and look for the switch. Tap and then OK when it asks if you want to pair the trigger to your phone.
Now it will trigger your native camera app shutter control to shoot stills or videos. Or you can use it with an app like FiLMIC Pro.
I noticed that if the trigger disconnects, a second press on the button usually connects it again.
Footage Test
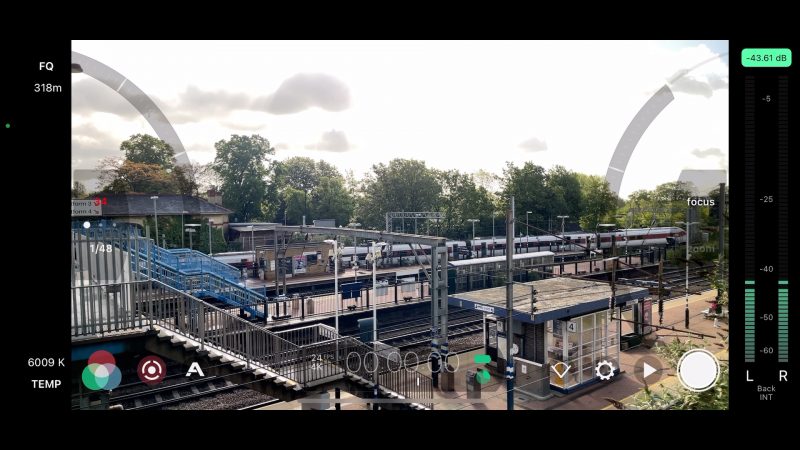
When I took the LightChaser Pro out for a spin, the sky was partly overcast, which means there’s less light than there would be on a bright sunny day.
A slow shutter speed is necessary for motion blur, which gives you that smooth film look. Some people like to observe the “double your frame rate rule” to the letter, but it’s really not necessary to be that strict, in my opinion.
My rule to follow is: the faster your shutter speed the harsher looking your video will appear. Perhaps not as catchy but in my opinion more accurate.
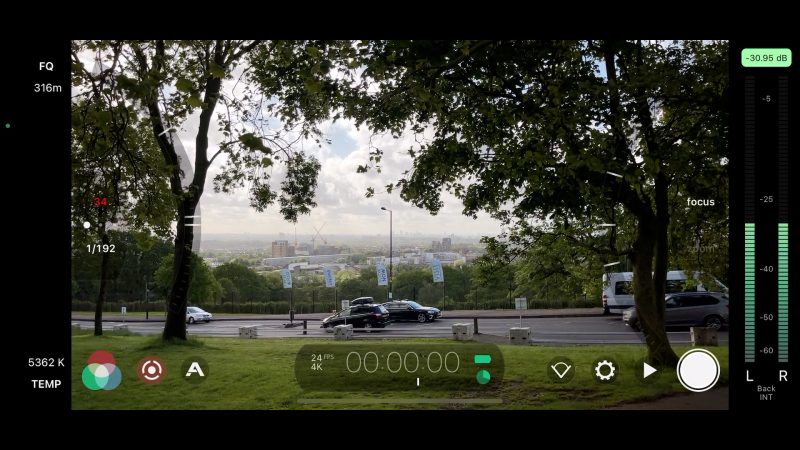
The biggest problem when filming in daylight is blown out skies. So, with this 3-5 stop VND, you can see the sky still blows out when the shutter speed is 1/48.
You can adjust the variable ND from 3 to 5 stops by simply rotating it.
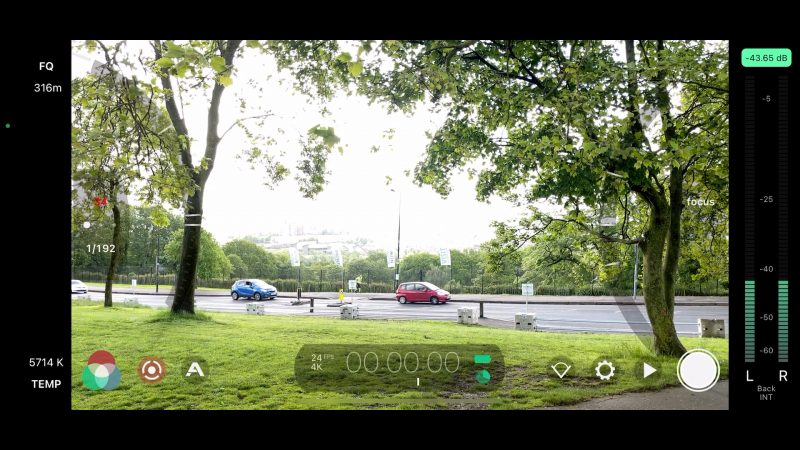
As I increase the shutter speed, you can see areas of the sky filling in. Finally, the sky is filled in completely and there are no more blown out white patches. I think we can agree, the sky looks nicer when those patches are gone.
So, now it’s a question of what’s more important – slow shutter speed or removing the white patches?
For bright daylight, we really need a 6-9 stop Variable ND filter. But this 3-5 stop filter still does a job. When I remove the filter, the frame is much more blown out.
Thoughts
What I like about this is that everything is very easy to use. The filter can be removed and mounted very quickly. The grip comes on and off with a simple press. Even the rubber lens cap comes on and off pretty easily.
It’s all nicely built as well.
You can use the 1/4” threads to mount the grip to a tripod. Another great thing about this system is that the filter covers all 3 lenses. So you can switch between the lenses without having to move the filter.
Native iPhone App
You don’t have to use an ND filter with a camera app like FiLMiC Pro. In bright conditions, the native app will push the ISO down to its lowest setting. Adding an ND filter will then force it to slow the shutter speed.
So, even with the iPhone’s native camera, using an ND filter will add more motion blur to the video.
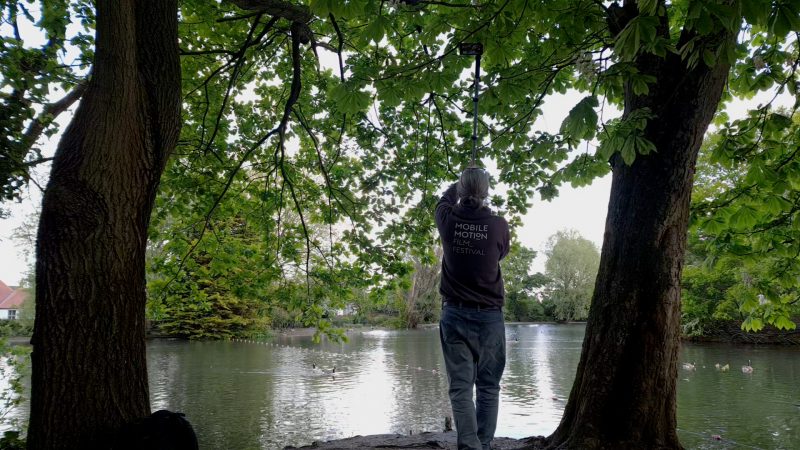
Add a Monopod
Using the top and bottom 1/4” mounts, I decided to try attaching my monopod and using it to get some high and low shots. The great thing about smartphones is they are light, so getting these kinds of shots is much easier than if you had a heavier camera.
I set the iPhone 12 Pro Max to 60fps so I could reduce the speed of the clip later for a slow motion effect.
Mounting Moment lenses
On the PolarPro website it says the grip is compatible with Moment M-Series lenses. There’s a mounting plate for bayonet mount lenses. This is actually made of metal, so it’s pretty sturdy.
However, when I tried to mount my Moment anamorphic, I found it did not mount 100% correctly. With an anamorphic lens, it has to be level. But as you can see, it’s not quite level and the lens will not turn further.
With the 58mm telephoto, it’s ok because it’s circular. This lens doesn’t have to have a specific orientation.

LightChaser Kit Options
When you purchase the LightChaser Pro kit on the PolarPro website, you get the option to select different filters. There’s a polarising filter option and diffusion filter, but I couldn’t see a 6-9 VND option.
So you could use a Moment filter mount on the case and then use a stronger ND filter. Unfortunately, that would mean the filter would only cover one lens at a time.
If you select the Filmmaking Kit or Director’s kit, the Polarising filter is added free. But if you choose to create your own custom package, the PL filter is greyed out and you can’t select it. Not sure why that is.
There’s also 3 different case colours to choose from.
At the moment, this kit is only available for iPhone 12 Pro and Pro Max. iPhone 11, 11 Pro and 11 Pro Max as well as Samsung’s S20 Ultra.
LightChaser Pro System Official Website
Eager to learn more?
Join our weekly newsletter featuring inspiring stories, no-budget filmmaking tips and comprehensive equipment reviews to help you turn your film projects into reality!