How to Create a Smartphone Vlog
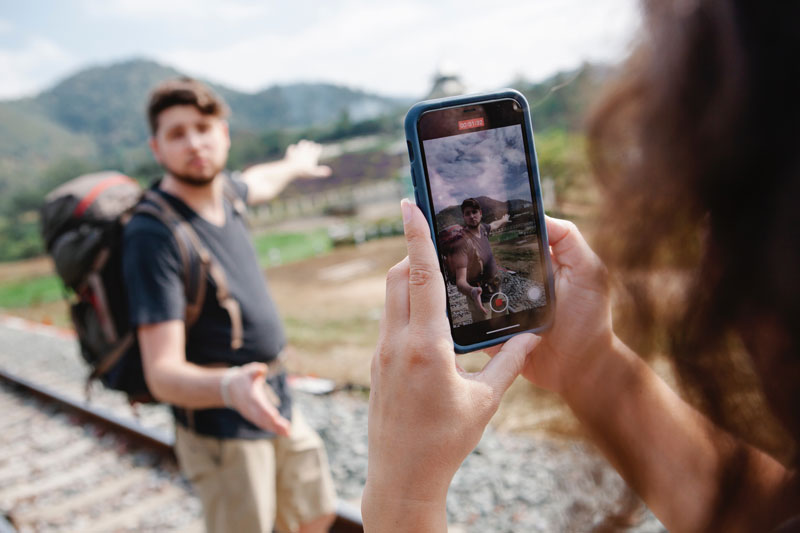
If you’re looking to start a smartphone vlog, all you really need is a smartphone and few extras. In this article, I’m going to guide you through some basic steps that will enable you to create engaging content for your vlog, using a gimbal and a microphone.
I’ll be using the DJI OM 4 but it doesn’t matter if you have a different gimbal, they all work roughly the same. The Osmo Mobile 3 is almost identical to the OM 4. They both use the Mimo app which works the same for both gimbals.
Smartphone Vlog: How to Choose a Niche
If you’re doing this to grow your following, then you will need to choose a niche (or nich, as some people pronounce it).
The days of people videoing nothing but the mundane events of their daily lives and becoming successful are mostly behind us. If you’re already a celebrity, then it might work. But for most of us, we probably need a niche.
A niche is a subject for your vlog. Some examples are: beauty, fitness, tech, movie reviews, politics, travel, economics, history and so on. There are thousands of possible subjects for you to choose from.
One major tip is to stay focused on that subject. The people who follow you probably do so because you have some knowledge they want to know more about. This also makes a big difference to how effective a platform’s algorithms are at bringing you new viewers.
For example, if you publish a video on beauty the algorithm registers your channel as being about beauty and will show people looking for beauty tips in your direction. If you then make another video about gardening tips, the algorithm gets confused and your channel won’t grow as quickly.
As well, all the people who followed you for beauty tips are much less likely to watch your video about gardening. So the algorithm sees that not many of your subscribers are watching that video and comes to the conclusion it’s not worth showing to anyone else.
For this reason, when you choose your niche, make sure it’s something you love talking about. Make sure this is something you want to make content about in the long term. And the more obsessed you are with your subject the better, because your infectious energy will come across to your audience and keep them coming back for more videos.
Smartphone Vlog Equipment
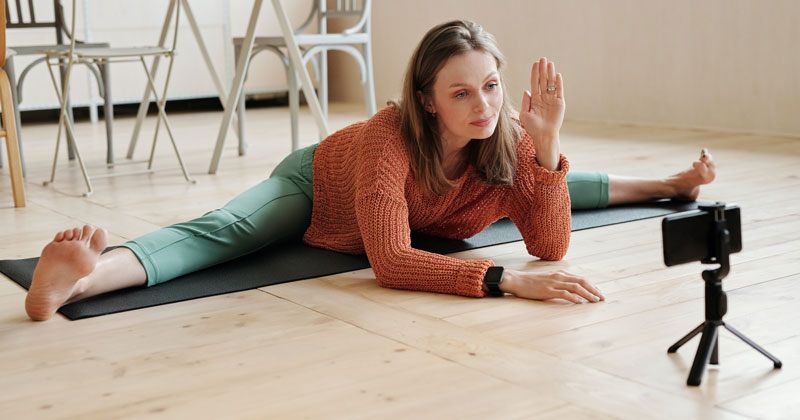
To be create a smartphone vlog all you need is 3 things. I mean, sure you could just use your phone, hold it in your hand and use the inbuilt mic. But you will do better with some kind of stabilization – like a tripod. In this case, I’m using a DJI OM 4, because not only is it a gimbal, it also has a tripod and the Mimo app comes with a ton of useful vlogging features.
The only other thing that’s important is a microphone. A $10 or $20 clip-on mic can make all the difference. There’s shotgun microphone options too.
Video Capture
So, there’s 2 basic types of footage you need to shoot for your smartphone vlog: talking to camera footage and B roll footage.
Talking to camera footage can be shot walking around outside, or sitting or standing somewhere. This will depend on the type of vlog you’re making. Travel vlogs obviously lend themselves to walking and talking. Tech reviews are more likely to be studio-based, sitting down.
Personally, I tend to record talking to camera footage at 1080p (known as FHD) and at 24fps. But when I shoot B roll I either shoot 1080p 24fps or 4K and 60fps. So why do I choose those settings?
Well, talking clips tend to be much longer so shooting at 4K would use up much more memory on my phone. Plus, people are just watching you talk so do they really need incredible quality? I pretty much always master my videos at 1080p, anyway.
B Roll: Cinematic & Regular
There’s really two categories of B roll: one is showing how to do something and the other is cinematic, high quality visuals.
If I’m showing how to use a piece of kit, I don’t usually need 4K footage. Again I just shoot at 1080p.
For the more cinematic B roll I shoot 4K and usually at 60fps. A high frame rate allows me to slow shots down when I edit to create slow motion. 4K means I can reframe the shot if I need to. Plus, if the shot isn’t 100% smooth, stabilizing software generally works better with 4K footage.
But if you find shooting 4K takes up too much memory and processing power, just shoot 1080p.
The DJI OM 4 (and the OM 3 or even the Osmo Pocket) is packed with features to use for your smartphone vlog. There’s Story Mode, Gesture control, active tracking, AI editing, Timelapse, Hyperlapse and more.
I’m not saying you should use them all for every video, but these features can help you keep your vlogs engaging.
The advantage of Story Mode is speed. On the downside, the resolution you can output is limited to 1080 (FHD).
iPhone vs Samsung
I have both iPhone 12 Pro Max and Samsung Note20 Ultra. They work a bit differently with the Mimo app, which has slightly more features on iOS than Android. Using my iPhone there’s no manual mode, so I can’t set shutter speed and ISO and that kind of thing.
Personally, I rarely use the manual controls when shooting this kind of stuff anyway. Smartphones have all kinds of software working to create the best looking images and when you use manual control, this can actually negate them.
I know a lot of advice is to lock exposure but personally I don’t always do that. If a shot is going from dark to light and looks horrible, then I will lock it.
I’m only talking about a smartphone vlog, now. If I was making a short film, I would use manual controls. That said, as dynamic tone mapping is becoming more of a dominant feature in smartphones, especially iPhones, I’ve been developing ways to work with this feature rather than to fight it.
Dynamic Tone Mapping
In recent years, dynamic tone mapping (or remapping) has become more important to the look of smartphone shot video. Especially if you have a recent iPhone, I’d say from iPhone 7 or 8 onwards. I think it’s important to understand how it works if you want to get the best video out of your smartphone.
Android devices also use this, but it’s not as aggressive. What it does is try to even out the exposure in different parts of the frame. In a normal camera, exposure is even across the frame. But with dynamic tone remapping, the software picks out an area, say an overexposed area, and adjusts the ISO just for that area of the image.
I’ll show you what I mean on my iPhone 12 Pro Max. The software adjusts this blown out part of the image. It’s like magic, really, the way it does this.
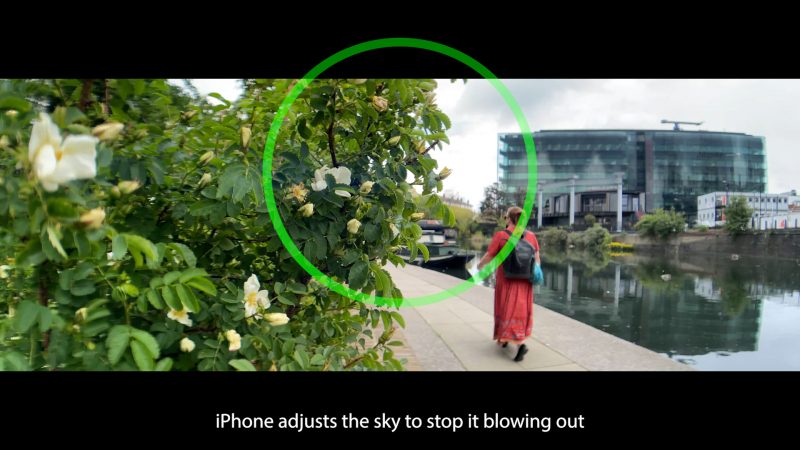
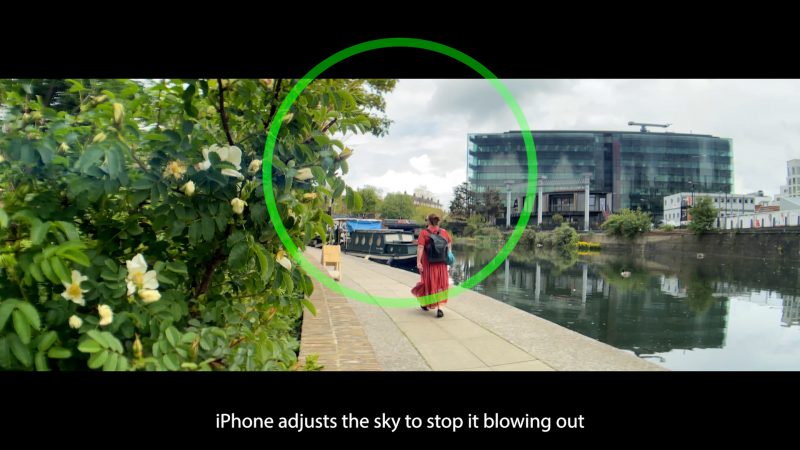
If the exposure level was even across the frame, that area would remain blown out. With tone mapping, it adjusts just that area of the frame. It draws a mask around the overblown part and pulls down the ISO just for that part.
This is how smartphones achieve a better dynamic range than would be possible, with such small sensors. You can go out and shoot video for your vlogs without worrying about exposure settings as much as if you had a regular camera. The sky will be less likely to be blown out, for example.
The reason Apple and other companies are putting this software into our smartphones is so we can shoot better video quicker. The software is doing the work for us.
This is why many people who like using manual controls have a problem with iPhone now. With my Samsung, the device lets you disable it when you lock exposure. But iPhones don’t, they force you to use tone mapping.
Now, there are times when this mapping really fails. Like flickering skies. But we have to accept that, and in return we get to shoot great video faster. However, I do hope they’re working on fixing that issue.
DJI OM Modes
The DJI Mimo app has quite a few different modes, so which ones should we choose for a smartphone vlog and why?
For walking and talking shots, it’s probably best to use tilt locked. You want the camera to stay pretty fixed while you are walking, you don’t want it moving up and down on the tilt axis.
For regular B roll shots, you might want to use Follow Mode. Now the gimbal follows your movements. So if you want to tilt up to look at something you can. And the gimbal will keep the movement smooth.
For more wild B roll shots, you can explore the other modes. For example, the FPV (first person view) mode allows you to fly your camera around like a fighter jet. This might suit some fast cuts with uptempo music.
Live focus
I personally don’t use live focus, but it’s an option if you want that Bokeh-style blurry background. Especially if you’re talking to camera or filming a human subject and the camera is pretty still. Once you or the camera are moving around this live focus effect doesn’t work as well.
Talking to Camera Shots
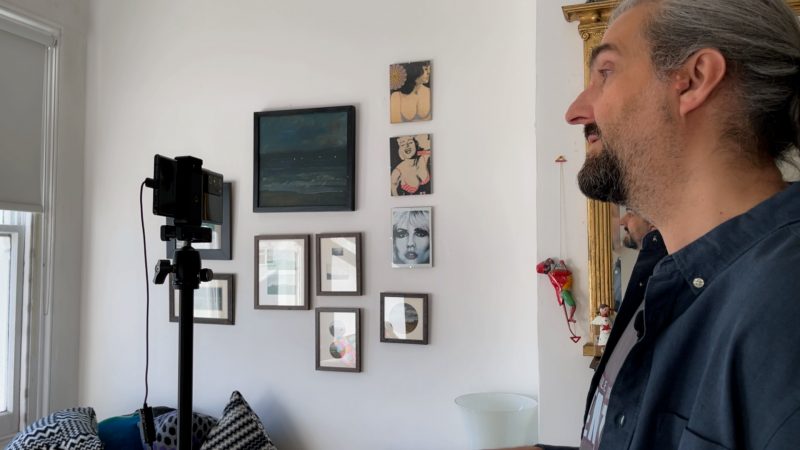
When I film my talking to camera shots, I usually have the smartphone fixed on a tripod. But you could use your DJI OM gimbal with the mini tripod legs.
If you want to move around while talking, then using the gimbal is a great option. Just set the object tracking running and it will follow you around. If you’re filming alone, you can use the gesture control plus tracking and it will lock on to you and start recording.
When I’m just standing still talking, I use a simple wired clip-on microphone. I also use my Samsung rather than my iPhone, as I prefer the look. I believe the Note 20 Ultra main camera gives a little bit more of a blurred background.
Using the main camera means I can’t see myself when I’m filming. Thing is, I prefer not to see myself anyway, as I find it distracting. This way I can just look directly at the camera and start talking.
And that’s another smartphone vlog tip: make sure you are looking at the camera when you talk. Imagine the camera is your friend and you are just chatting away. Make that personal connection with your viewers and they’ll come back for more videos.
So how do I do this if I can’t see myself? I usually set the camera to 1080p, 24fps. Get the angle about right. Often I switch to Samsung Pro Video Mode but leave the camera completely in auto. But I do have the option to fix exposure or focus if I need to.
Now, I just start recording and then run around. The Samsung Note20 Ultra has face detection autofocus, so it should automatically find my face and focus on me. However, if there are other faces in the background it might get confused.
Another smartphone vlog tip:
Make sure to have an interesting background. Preferably, a background that is connected to your chosen subject. I mean, I’m using my parent’s living room. But at least it’s fairly interesting, even if it’s not the perfect look for my smartphone filmmaking theme.
So don’t get hung up on having a studio space, if you don’t have access to that. But do avoid standing in front of a blank wall. I would also say, don’t have your background too close behind you as it doesn’t look too good. Plus, some distance between you and your background will also help to make your background more blurry.
Third tip:
Make sure to frame yourself well. Generally, this means putting yourself in the middle of the frame. Or use the rule of 3rds grid and place yourself on one of the vertical lines.
Avoid framing yourself badly. It just downgrades the viewer experience a little and gives people a reason to click away from your video.
After a first try, I watch what I’ve got and adjust the camera angle if I need to. Then I go again.
Be Natural
Someone once said “a smartphone vlog is like the behind the scenes footage from a movie”.
I mean, you can make your smartphone vlog however you want. Certainly you should go with whatever works for you. That said, many vlogs have a diary-like element to them.
Remember, the biggest key to success as a smartphone vlogger is engaging your audience. And people love to get a glimpse of who you are, including the ups and the downs. The things that go right, the things that go wrong – it’s all part of the story.
One mistake people make is to think they need to look 100% professional. In fact, that can sometimes be off putting – if being professional means being a bit cold and unemotional. Honestly, your audience would rather see the real you (or as much as you’re willing to show them).
I know what some of you are thinking right now… it’s easy to say “be natural” but it’s not so easy to do in practice. So here’s some tips to help you be yourself in front of the camera.
How to Be Natural
When I first started doing this I was really uncomfortable recording myself. Firstly, I found I couldn’t talk to camera without umming and erring and correcting myself, getting lost, forgetting what I was supposed to say and so on.
I have nothing but admiration for people who seem to be able to talk so clearly without making too many mistakes. Of course, there are those who read from a pre-written script. So, if you struggle with this aspect like me, then you can think about setting up an autocue.
The downside of using an autocue is that it can make you come across less natural, which disconnects you from your audience. Again, it depends on your subject and how good you are at coming across naturally while reading.
Another trick vloggers use is this very rough editing technique where they just cut out all the mistakes and leave the good bits. It’s a style anyone who has watched videos on YouTube will be familiar with.
Those techniques aside, what else can we do to come across more naturally?
One thing I will say is that practice really helps. The more you talk to camera the better you will get at it, so keep going.
What happens with me is that as soon as I hit the record button I feel under pressure not to mess up, which makes me come across more serious and stiff. One little trick I use is to make myself laugh and then start talking.
Thing is, laughing relaxes you and makes you smile. Both these things are appealing to your audience. Later, I edit out the laughing part.
If you have time, keep doing takes until you start to relax. Eventually, the fear of getting it wrong will fade and your more natural self will come out. Just be patient.
And remember, those mistakes you make are what makes you human. Your viewers will love to see some of those mistakes from time to time. They really help to connect us, because ultimately we are all human and make mistakes.
5 Smartphone Vlog Tips for Beginners
If this is the first time you’ve shot video in a more serious way, here’s some basic beginner tips.
1. Clean the lens
We use our smartphones for everyday life and when we’re holding them, dust and grease from our hands goes onto the lens. Then we get a foggy looking image. But a quick wipe will make sure the lens is clear.
2. Check Storage
Video takes up quite a lot of space on your phone’s memory, so make sure there’s enough space there. When I start to shoot a new video, the first thing I do is delete all the files from the previous video.
3. Check Battery Level
Make sure your gimbal, smartphone and any other battery powered kit are fully charged before you head out. Nothing is worse than just when you are getting some good footage, you need to stop to recharge.
4. No Roving Camera
People filming their family or their vacation often shoot video with a roving camera. They just start recording then move the camera around trying to film everything. What you end up with is often messy and horrible to edit.
To shoot more cinematic footage, it helps to plan each shot. Focus your mind and create shots with more purpose. Think of each shot as a mini story itself, with a beginning, middle and end.
Ask yourself these 3 questions:
- Where does the shot start?
- Where does it move to?
- What is the point of the shot?
5. Different angles
Another beginner thing to do is shoot everything from your eye level. Again, when we film our family or our vacation, we tend to shoot everything with the camera at eye level. Then when you edit, every shot has a similar feel.
Thing is, it’s actually easier to edit together shots from contrasting angles and your final video will look smoother and more cinematic.
To add more value to your shots, think about getting low shots or high shots. Use foreground to add depth. Use movement within the frame combined with the movement of the camera.
You’re only limited by your creativity.
Photographers or videographers are constantly looking for opportunities. Use colours, use reflections, use architecture, use light. The more you explore your visual ideas the more engaging your vlogs will be.
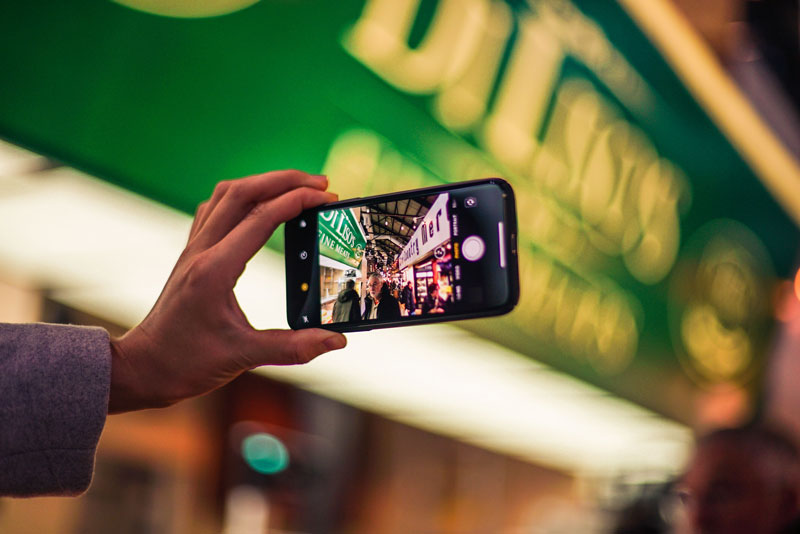
Portrait or Landscape
It used to be the rule that to shoot pro video you absolutely had to shoot landscape. But that is now the past and no longer relevant. Rather, it’s more about shooting the right orientation for your intended format.
Every vlogging platform (including YouTube) now has video content to be viewed on smartphones held vertically. This all happened because it’s easier to hold your phone this way in one hand.
Instagram, Facebook, Twitter, TikTok, Snapchat – these are all powerful smartphone vlog platforms with huge potential audiences. For creating stories, you will probably want to shoot vertically. That said, you can also use landscape video and crop it.
For example, if you shoot 4K video in landscape, you can use that for landscape and portrait videos without losing quality. So, perhaps shooting everything 4K in landscape will give you flexibility.
Plan ahead
Certainly, being spontaneous works well for a smartphone vlog. But I recommend you have some idea of what you are trying to achieve.
If you have a plan, maybe a shot list or an outline of a structure for the video, that will be your foundation. If you don’t plan, you might become preoccupied with worries about what you should be doing.
Here’s the thing: pre-planning enables you to be more spontaneous when filming.
Use your chosen subject to inform this plan. Watch other vloggers in your niche and see how they do things.
Get inspiration but don’t just copy outright. Add your own unique way of doing things. If you do that, your smartphone vlog will stand out and people are more likely to come back for more.
Story (hook)
In a previous article I talked about how using a hook can grab viewers and keep them watching longer. A story hook is something that’s a bit unusual which might get people curious – we want to know what happens.
People have been putting hooks in their stories since we started telling stories, thousands of years ago. And you don’t need to base-jump off the Empire State Building. Anything which hooks people who are interested in your subject.
For example, one of my recent videos was my opinion regarding smartphone camera vs pro camera. As this is currently quite a heated topic, people are curious to hear the arguments. In this case, the topic of the video itself is a hook.
If you don’t have a hook before filming, you might discover one during filming. Something funny or unexpected might happen. This is something that might hook people into watching.
When you come to edit, think about using that moment as a hook. Tease it at the start, but don’t give it all away. Make sure people have to watch to find out what happened.
Tip: Accidental bg music
Quick tip: if you’re talking to camera, out and about somewhere, be careful about music playing in the background. If it gets picked up by your mic, it might get flagged by YouTube for copyright. Then you’ll lose monetization for that video.
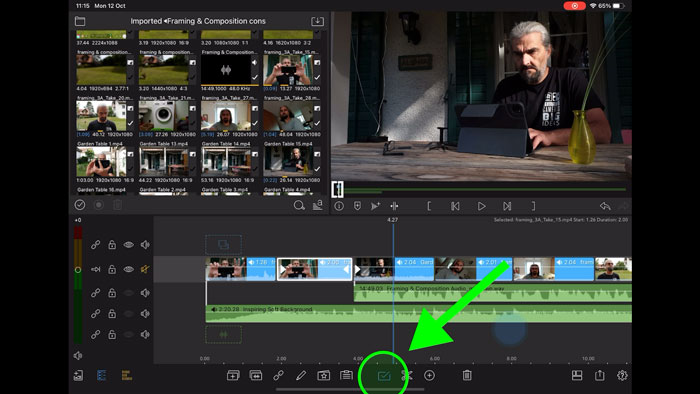
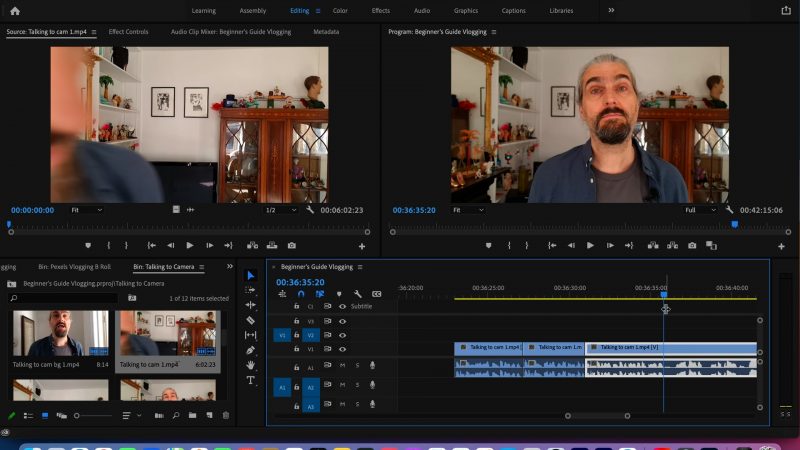
Editing
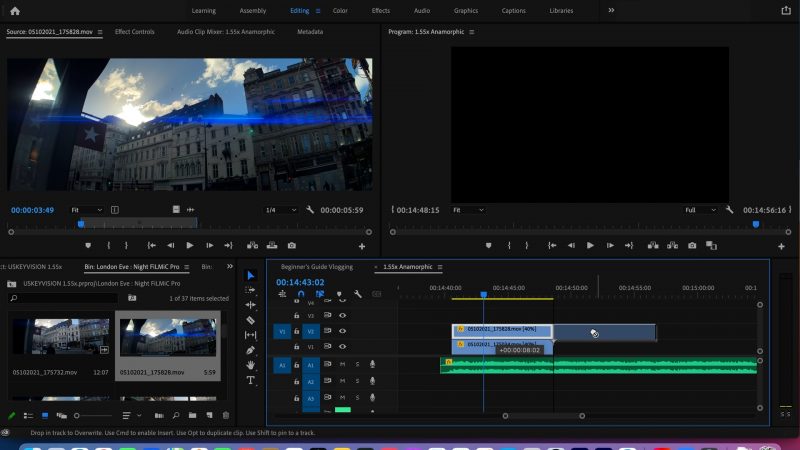
There are apps which allow you to edit directly on your phone. For iOS one of the standout apps is LumaFusion. I’ve edited several of my YouTube videos using this app.
That said, I did use an iPad for the extra screen space. There’s also iMovie which is very simple and quick to use, albeit without too many features.
For Android there are apps such as Kinemaster and PowerDirector. An app I really like is called VN (VlogNow) and it’s free and available for iOS and Android. There’s also an app called CapCut, which is a hit with TikTokers.
So you can get started editing on your phone with a free app. Long term, you will probably want to edit on a laptop or desktop computer.
Editing – Talking to Camera
Record yourself talking to camera in one long take. Don’t worry too much about mistakes, you can cut them out (or leave them in if they’re funny). Now drop the whole take onto your timeline.
Go through cutting out all the bad bits. Many successful YouTubers are really ruthless, cutting out breaths and ums and ahs. This makes the whole thing very fast paced.
Some people not only cut out breaths, they also overlap the beginnings and ends of sentences, to speed things up even further. This aggressive cutting is what makes vlogs different to regular TV production. But it really depends on your style and subject.
For example, there’s a YouTuber I follow who’s videos are all about living on a canal boat. It’s all about a slower way of life. Therefore, a more traditional style of editing will probably be more appropriate.
Editing – B Roll
Once you have your talking footage cut, you can add B roll. B Roll is usually used either to illustrate what you’re saying or in a montage on it’s own, with music.
Let’s say I’m talking about a lens for a smartphone and how to mount it. That’s a good time to include a close up of myself doing just that. Meanwhile, my voice continues and I try to time each shot to match the words.
Editing – Music
When I’m editing montage sections, I find the music first and then edit to that music. I get a lot of my music from YouTube’s library, where musicians have offered their music to be used by YouTubers.
Although, I recently noticed there has been no new tracks since December 2020. I don’t know if this is a change by YouTube. Maybe they are phasing this out, we will have to see.
You do have to spend some time searching the YouTube library, because the quality of the music varies a lot. But, as it’s free, we can’t really complain.
Other tracks I’ve purchased from PremiumBeat. If I think I will use a track a lot, then it seems more worthwhile to buy the track.
I know some people use music subscription services, that way you get access to a library of tracks that you know will be good quality. But that will depend on your budget. Certainly, there’s enough good music in the YouTube library to get you started.
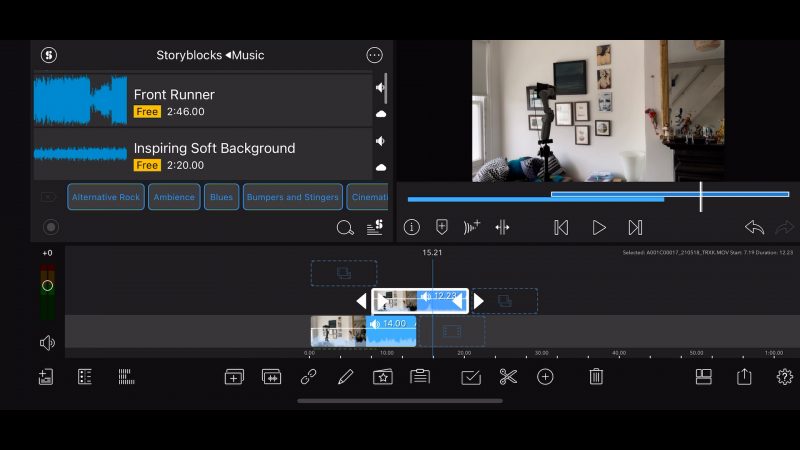
If you edit using LumaFusion, you get access to a few free music tracks via the integrated StoryBlocks. Now, considering the cost of LumaFusion is only $30, it’s almost worth buying it just to get the free music. By comparison, one track of music from PremiumBeat costs about $50.
I counted 30 free music tracks in LumaFusion. And 30 x 50 = $1500 worth of music, if you were to pay PremiumBeat rates. If you want access to all StoryBlock’s tracks and stock footage, then there’s a subscription fee option.
Editing – Montage
Once I’ve chosen my music track for the montage, I place it on the timeline. Now I go through my B roll clips, which are usually 60fps. Next, I scrub through each clip to find the best bit of that clip.
Drag the clip onto the 24fps timeline and slow it down to 40%. I usually time each clip to the beat of the music. Trimming and stretching clips to fit.
One trick is to create a clip the correct length, then use that as a measure. Place the next clip above the first clip. Make it the exact same size, then place it after. Now it should fit the beat of the music.
Then it’s just a matter of playing around with the clips, to create something cinematic.
For next level montage sequences, choose clips to coincide with the feel of the music. For example, when the music lifts, choose video to lift with it. In music terms, this is called a crescendo.
Editing – Mimo App
The Mimo app has a few features that let you edit your footage, right in the phone.
We already talked about Story Mode, which edits a little sequence while you’re shooting. It might take me a few hours to shoot footage, compile it, work on it, find music and so on. So, more than anything, Story Mode can be a time saver.
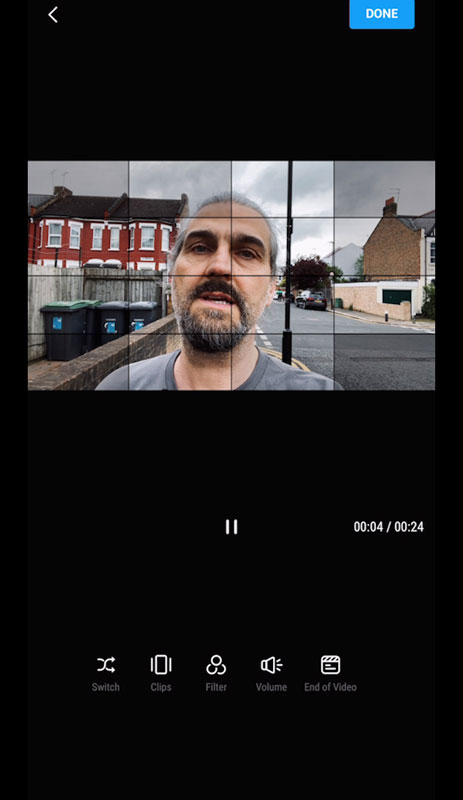
The Mimo app also has a regular editing app. Select clips and Mimo then imports them into the editor. There’s quite a few options: trim clips, swap them around, change the speed, add music from a free library, add filters, add text, a few transition options too, Instagram style stickers, adjust the speed of the clip.
This is pretty similar to editing apps like VN or CapCut. You can also change the frame to vertical, if you’re creating something for an Instagram story, Facebook story and so on.
Now, there’s a 3rd editing option within the app, which is the AI editor. This one is like Story Mode, except it allows you to use an editing template to create a sequence from clips you’ve already shot.
There are limitations to these apps. One is that you cannot export your final video in 4K, you are limited to 1080p or 720p. And of course there are many fewer editing features compared to software such as Adobe Premiere, Final Cut Pro or even LumaFusion.
Smartphone Video Colour Grading Tips
Personally, I don’t spend hours and hours colour grading each video. However, there might be times when a little touch up here and there will improve the look. Again, the subject of your vlog will determine how cinematic your video needs to be.
Here’s some grading tips for getting the most from your smartphone video.
The first thing to remember is that smartphone video is designed to look great straight from the phone. Of course, you can always use preset filters when filming, like the ones you get in the Mimo app. They can do a job and save you time.
Smartphones tend to add a lot of contrast and sharpness. So I like to reduce contrast, brighten the shadows a little, darken the highlights a little as well. This makes the video look softer and easier on the eye.
Remember earlier I said lean towards capturing darker rather than lighter video? This is where it pays off.

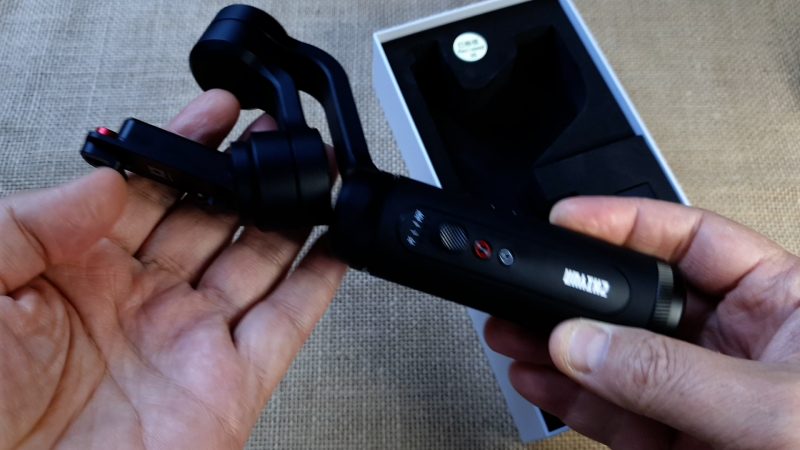
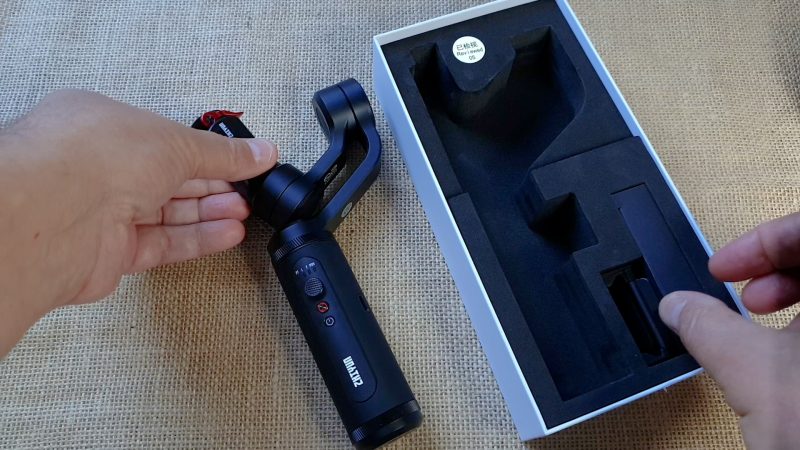
For example, this shot of a gimbal I have from an earlier video. At first it looks like it’s too dark, the shadows are black. You might think this is not great for a product review where you want to show the product to your viewers.
However, what I can do is reduce the contrast and tada! Doesn’t look so bad now. As well, if I brighten the shadows, again more detail is revealed.
But you can use this technique for other kinds of video. What it does is reduce contrast, which will make your video look more like film.
One thing I’ve noticed some people do when grading smartphone footage is to crush the blacks even darker. Personally, I don’t think that’s a good look and that’s what makes smartphone video look less professional than footage from a regular camera.
Add a Tint
The colour of a video changes the mood of the video. One of the simplest ways to change the look of a clip is to use a tint. In fact, digital cameras are using a tint all the time. If you have ever set white balance in a camera app or editing software, you will have seen a tint control.
Adding a tint is a bit like placing a coloured filter over your camera lens. It basically adds a touch of colour to the whole frame, like a layer. A simple rule is that orange and red create a warm feel, while blue and green are cooler.
Just add a touch. If you add too much it just looks a bit weird. The general rule of all filmmaking is that if anything becomes distracting, then it’s too much. If people are looking at your video think “wow that’s very orange” then you’re not doing it right.
Quality over quantity
If you’re looking to build a following by vlogging, quality is really important.
I think with vlogging and social media we can feel a pressure to produce tons of videos. When I publish a video, the views jump up briefly, followed by a gradual slide downwards again. And it’s that slide which can make us feel like, “oh my god, I’ve got to make another video quickly!”
Problem is, if you start to sacrifice the quality of your content to produce videos faster, your followers might stop watching your content. Remember it’s all about holding the viewer’s attention for as long as possible.
Consistency
Another important element to being a successful vlogger is consistency. For example, posting regular content. Find the right pace for producing videos and stick to it, like one per week or one per month, it’s up to you.
This is better than releasing 7 videos in a week and then nothing for 2 months.
Be consistent with the subject of your content as well. There are 2 basic reasons why people will watch your smartphone vlog. 1) to learn something about the subject and 2) because they like you and your style.
Try to be consistent with the way you present your vlog. For example, on YouTube thumbnails are one of the key factors to getting views. If the thumbnail promises what someone is looking for, they’re more likely to click it.
But having a consistent thumbnail style as well means if someone watches one video and likes it, they will more easily spot your other videos just from the thumbnail. Why do many vloggers place themselves prominently in their thumbnails? Simply because it’s easier for their subscribers to find their other videos.
Keep Going
So here’s the most important thing for smartphone vlog success: start now and don’t give up. Is that a thing? Or things?
Anyway, some vloggers start and for some reason they’re immediately successful. Others work away for months before things take off.
My advice is, just get started. Don’t worry about getting things wrong, or that your videos aren’t perfect. Viewers are generally happy to come along with you for the ride. Most likely they will enjoy the fact you are learning as you go, because they can learn along with you.
Creating a successful smartphone vlog is all about bringing your followers and subscribers along with you for the journey. So don’t be afraid to invite people into your learning process.
Most people actually like the fact you’re working things out as you go, as it makes your smartphone vlog more authentic. Plus they can learn along with you.
Eager to learn more?
Join our weekly newsletter featuring inspiring stories, no-budget filmmaking tips and comprehensive equipment reviews to help you turn your film projects into reality!