Film YouTube Videos with Your Smartphone – Solo Filmmaking
Here’s how to start a YouTube channel with your smartphone.
My YouTube channel has reached 120,000 subscribers and over 12,000 views per day, without me ever using a professional camera. And I now earn enough money from this channel to support myself.
In this article, I’ll talk about which smartphone to use, how to make the most of your location, composition, lighting, video settings and more. Then you can get started on the road to YouTube success using your smartphone.
What Phone Should You Use?
When I started this channel, I decided not to buy a camera and instead I used my smartphone.
As well, my partner Andrea started a channel last year and it did really really well. Then she went on TikTok and her channel exploded. She’s doing so well, she now gets recognised in the streets in Switzerland and she’s just released her first book as a result.
And she did all this with a Samsung S21 Ultra smartphone.
You don’t even need the latest smartphone or expensive flagship. I’ve been using a Samsung Note20 Ultra I bought in 2020 and I still use it for my channel all the time. The cameras are still fantastic.
For the last couple of years, I’ve been filming myself with the Note20 Ultra but since I got the iPhone 14 Pro I’ve been using that. Mostly because of the cinematic mode and the fact it has a better front camera.
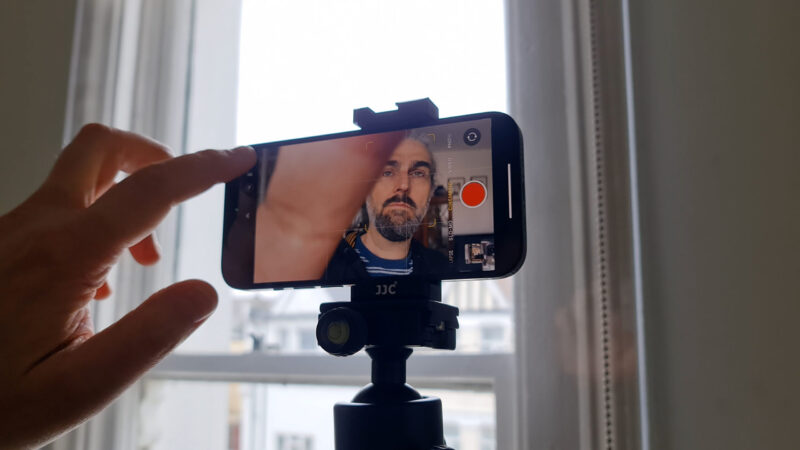
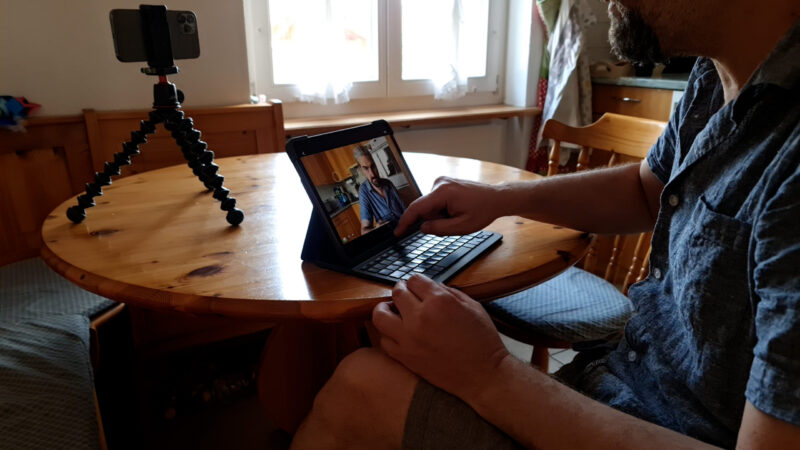
Mount it on a tripod, switch to the front camera and now I can see where I am in the frame. My settings are basically 4K, 30fps, cinematic mode. But you do need good light for the front camera.
Honestly, I believe you can use any smartphone to start your channel. The content you produce and how you produce it is far more important than the quality of the camera. And once you start to see your channel grow, you will be able to upgrade the smartphone as I did.
And I can tell you, it feels great to upgrade your smartphone knowing your previous device has earned it for you.
Do you need a Studio?
Now the question is, do you need a dedicated studio setup? I don’t have one. Either I’m out in nature or this living room. This isn’t even my room, this is my parents place. Because actually, I don’t even own or rent a home.
At the end of 2019, I decided to let go of my place in London and live the digital nomad life. I got rid of everything I owned, except for a few boxes of memorabilia. Of course, I picked just about the worst time ever to become a traveller…
Anyway, it’s up to you whether you want a dedicated studio space to film your videos, but neither Andrea or I have one. But I do think it’s important to think about where you’re filming and how it works for your channel.
So, if you’re filming yourself talking to the camera, take some time to think about where you will place yourself. Whatever the theme of your channel, I suggest you avoid sitting with your back to a boring, blank wall. Also, you will need to consider how much background noise there is and whether it will ruin your audio.
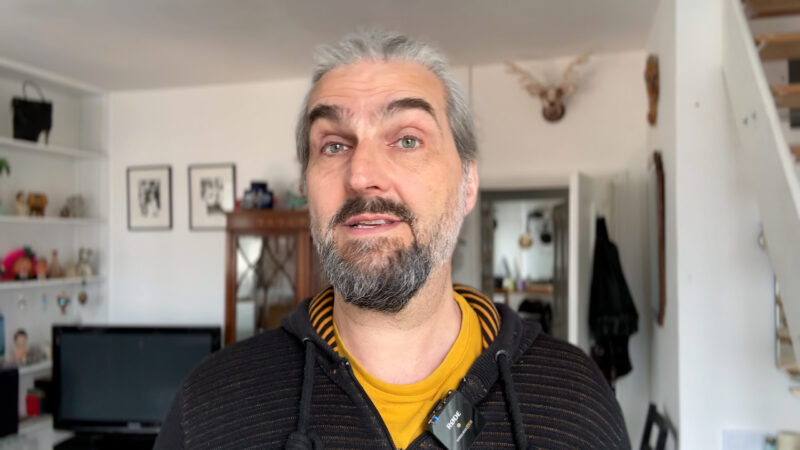
In this room, I place myself so there’s a distance between me and the wall. This way, the background is interesting enough but also it’s a little blurred out so it’s not too distracting either.
Arrange your scene like a movie
They say that running a restaurant is 50% food and 50% theatre. It’s a performance and the scenery needs to be right too. You might have the most delicious food but if there’s grease dripping down the walls, people won’t stick around. Well, unless they get stuck to the walls.
The point is to pay some attention to how your scene looks. Is it inviting? Does it sell your channel? Or is it going to put people off.
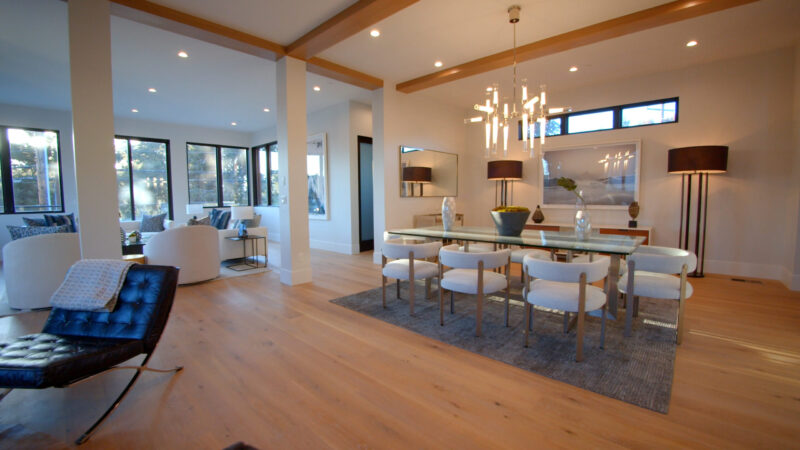
Running a YouTube channel is in many ways like bringing people into your home. Just like in life, the more warm and cosy it is, the longer they’ll want to stay. And the way the algorithm works, the longer they stay the more views you get.
Composition
Once you have the scene right, think about the composition. Normally when we are filming talking to camera stuff, we place the person talking right in the middle. Use the grid and place the subject’s eyes on the top horizontal line.
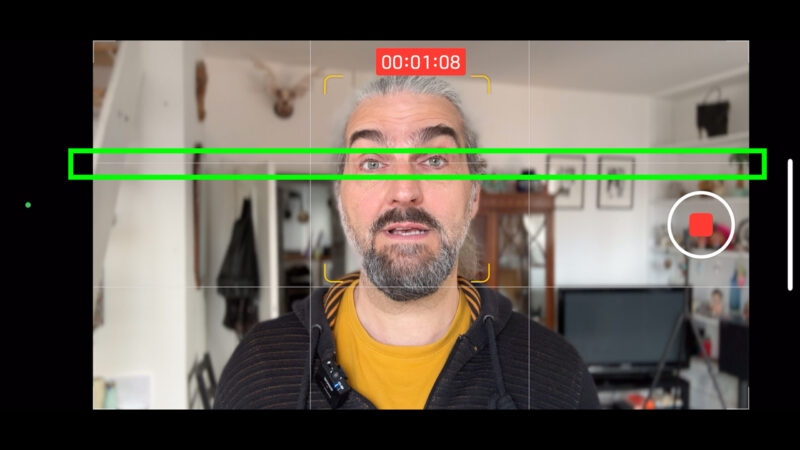
Symmetry is a safe bet. Have the subject in the middle and a balanced background on either side. You can also place subjects on the right or left vertical line of the grid. This works well if you want to use the other side of the frame for some kind of graphics.
Lighting
One of the most important aspects of creating beautiful, professional looking videos is lighting. So I guess we need a pro lighting setup, right? Well, I could recommend you buy some kind of $300 lighting rig and make some pocket money from the affiliate links. But the truth is I never use a lighting rig.
In this room, the tripod is by the window so I can use the natural light. And if I’m outside there’s obviously natural light as well. This does mean that I mostly have to film during daylight hours.
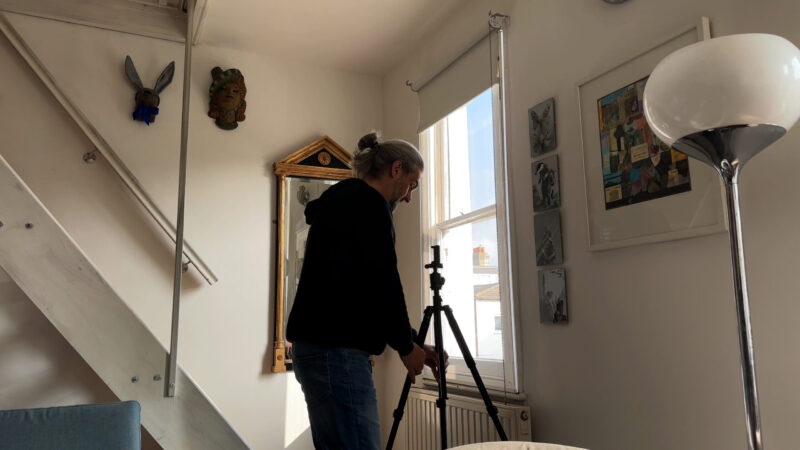
But I personally prefer natural light to that studio light look. Plus, as I don’t have a studio, it’s not really convenient to have lighting stands and lights. I’m using a smartphone which has the great advantage of mobility, why negate that with a cumbersome lighting setup?
Andrea actually bought a stand and a ring light, which is great for filming yourself. And you can just place it behind the camera and it will give you a nice, soft, flattering light.
Soft vs Hard Light
So why do we need soft light? For shooting the best quality video, soft, diffused light is best and most flattering for the subject.
Hard light is when the light shines directly from the light or the sun onto the subject and onto the scene. The problem is it causes deep, dark shadows, exaggerates any wrinkles and is much more challenging for your camera’s sensor.
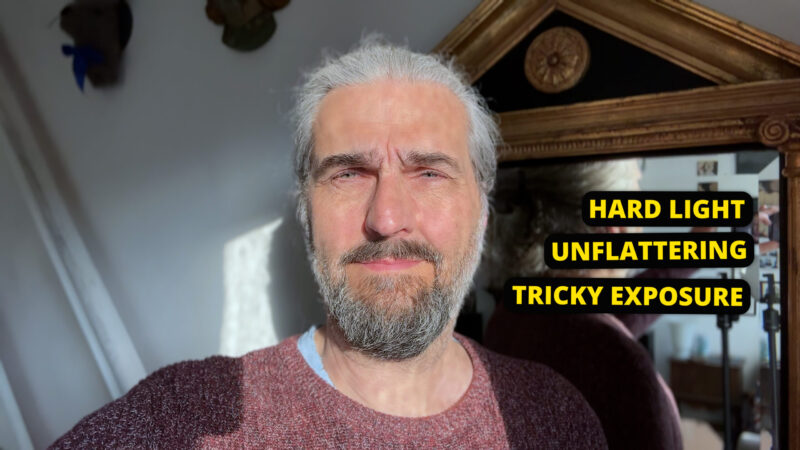
Soft light is when the light shines onto the scene indirectly. For example, the sun coming directly through the window is hard light. But if it has to bounce around outside first, then it is indirect.
Indirect light is known as diffused because the light is scattered. And for photography there are filters and reflectors you can use to diffuse hard light.
If you do buy a light, I recommend you get one which has a diffuser as part of the light, like the one Andrea has. The plastic over the light is opaque which diffuses the light. Some suggest studio lights, but then you need to add diffusion on top of that. That’s total overkill when filming with a smartphone, in my opinion.
Nature has a natural diffusion filter and it’s called clouds. But if filming outside and there’s no clouds, then try to find shade for you or your subject.
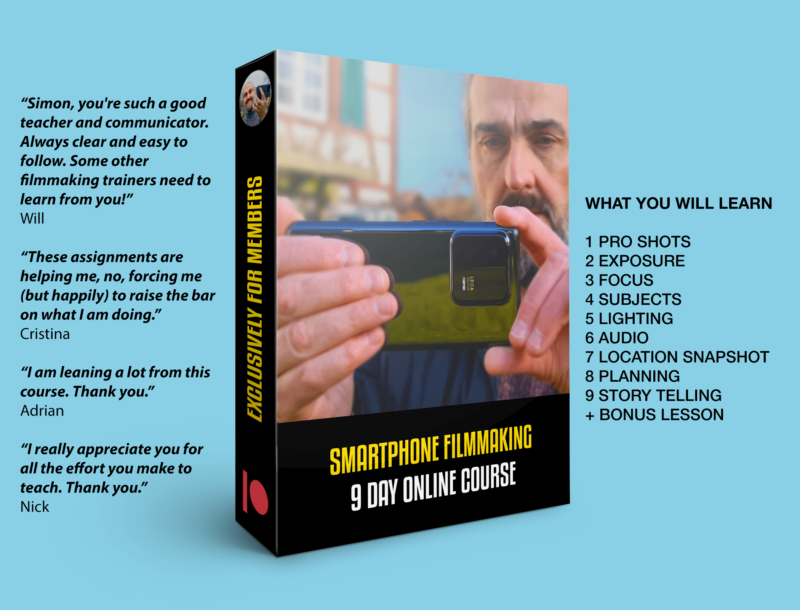
How to Create More Professional Looking Videos
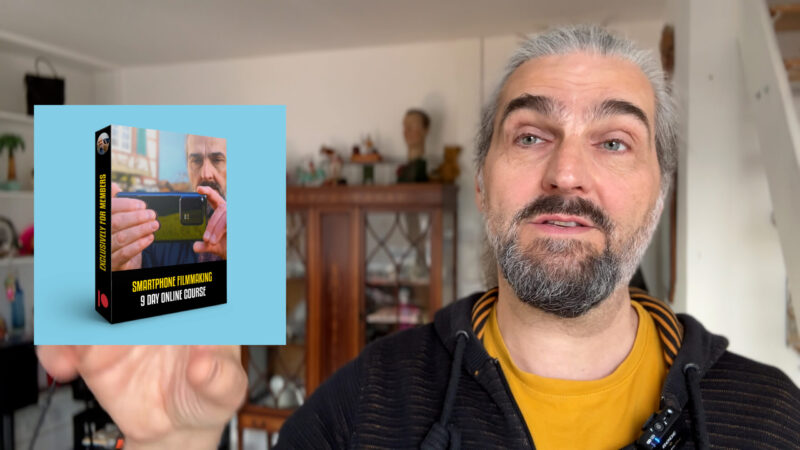
You can improve the look of your video easily, just by getting busy shooting and editing. That’s why from Day 1 of my 9 Day Smartphone Filmmaking Course, you will be doing just that. No hours of boring lessons on theory and camera settings. I will tell you which shots mark you as an amateur and which shots turn you into a professional.
Lesson by lesson, there will be just the right amount of technical knowledge to allow your filmmaking creativity to flow. As well, if you need it, I will be there to give feedback via Patreon or our members’ Discord server.
Audio
If you’re going to use the spoken voice in your videos, which is just about 99% of all successful channels, then great quality audio is essential. Just like having a nice inviting scene, a high quality voice audio also encourages people to stick around.
There are two main factors which affect the quality of your audio: microphone and environment. And both are equally important. In fact, I’d argue that the environment is more important than the microphone. In the wrong environment, you could have a $2000 mic and it will still sound terrible.
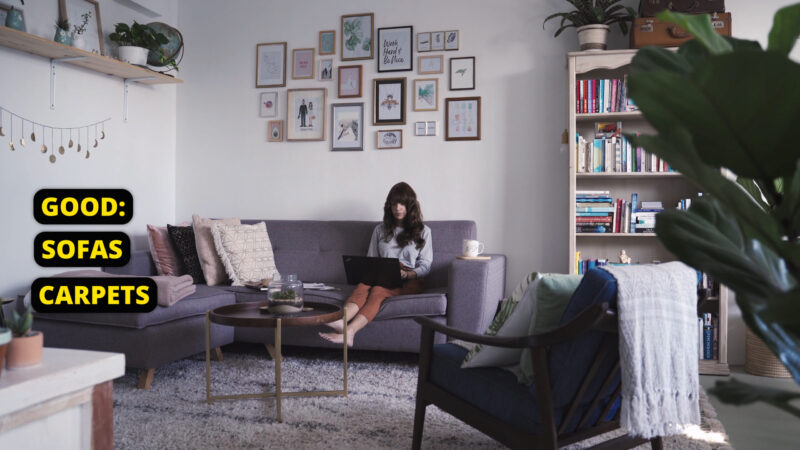
Environment
The best environment for recording audio is one where there are minimal reflective surfaces and minimal background noise. A room with carpets, sofas and curtains is better than one with hard floors, wooden chairs and shutters. Reflections (otherwise known as echo) destroy your audio quality.

Wind blowing on the mic destroys audio quality. Things like noisy building work, people talking in bars or restaurants, they all destroy audio quality. You get the idea.
Outside can be one of the best places to record audio because there’s no walls or hard floors and therefore no reflections.
Microphones
Until recently, advice has been that you need an external mic to record audio. The mic in your smartphone just isn’t good enough But that is no longer true, especially with flagship devices which now use computational processes to remove noise and reflections from the audio.
In fact, another big advantage of using a smartphone over a regular DSLR or mirrorless camera is that smartphones have much better inbuilt mics.
In the right conditions, a modern flagship will be just as good if not better than a cheap clip on mic. For example, as long as there’s no wind I found my iPhone 14 Pro records fantastic sound when outside. Inside, it’s not always so great. As well, the further you stand from the phone the worse the audio quality will be.
3 Types of Mic
Apart from the inbuilt mic of your device, there’s basically 3 kinds of mic you can use. A clip on mic, a shotgun mic, or one of those desktop podcast style mics that seem popular these days. I generally use a clip-on for talking to camera work and a shotgun for voice over work.
I have the Rode Wireless GO II setup and a Rode clip on mic. But I found that the inbuilt mic of the transmitter is better quality so now I just use that. It doesn’t look as discreet but I don’t think it matters for what I do. But if you prefer to record the audio onto the smartphone then you can use the receiver which comes with this setup.
There’s also cheaper wireless microphones designed specifically for use with android and iPhone. Like the one from Comica, which I reviewed in a previous article.
AI Audio Enhancer
OK, let’s talk about that Adobe AI enhancer. This is something that is changing the way we record audio in 2023. I’ve been using this for the last few months and it really is game changing. And I’ve started to notice more and more YouTubers and TikTokers using it too.
Adobe have released a beta of their AI audio enhancer system. All you do is upload your audio file, wait a few minutes and it converts it into a perfect podcast style audio, as if it was recorded in a studio. This means you can take your smartphone’s echoey audio Adobe’s audio enhancer will transform it.
Now, it is a beta and it’s not 100% reliable. If the audio was particularly bad, there might be glitches. For that reason, I generally stick to using it to save audio that got messed up with background noise or something. You do need to login to use it but I don’t think you need to pay anything.
I haven’t used it raw, I’ve actually done some work on it when editing. I don’t want to make this into an audio editing video, but I’ve made a step by step lesson explaining exactly how to do this for members on Patreon.
Recording Video
Let’s talk about recording video on your smartphone.
A standard camera tripod with smartphone clamp is a pretty essential piece of kit for recording talking to camera pieces. I have 2 tripods by Andoer, both can be setup to record looking down over a table, if you need to film looking down – for crafts, cooking and that kind of stuff.
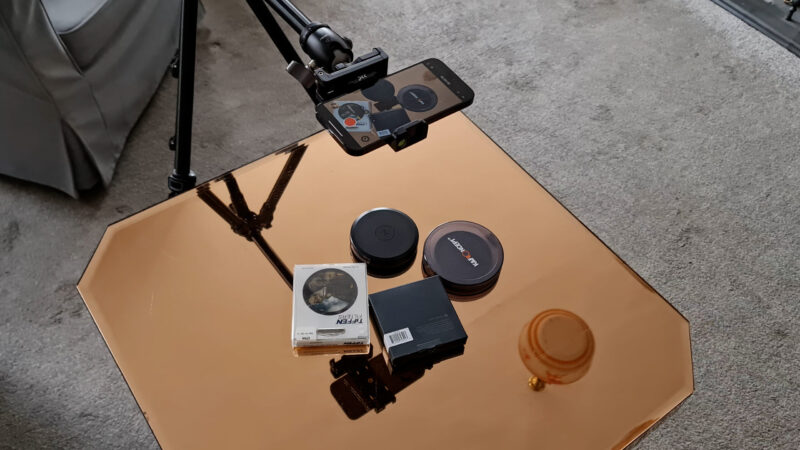
The smaller one is very light and pretty portable. So this is the one I take with me when I’m filming outside.
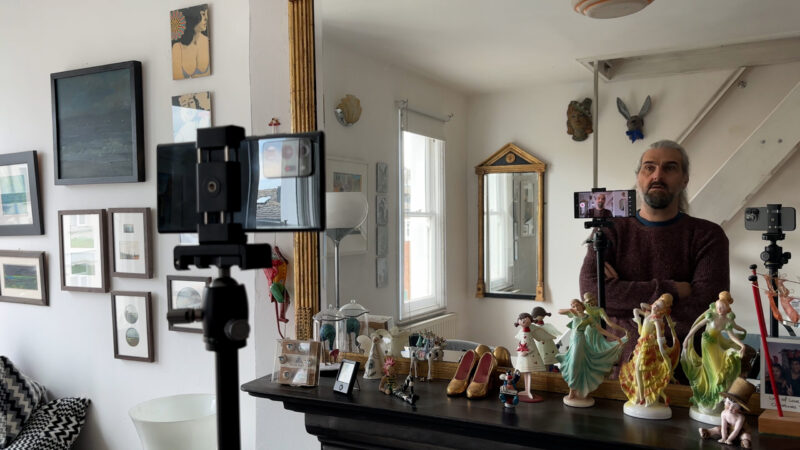
Monitoring yourself
If you’re filming solo, one of the big challenges is monitoring the camera, so that you can be in frame and see how the frame looks. Are you in the centre or is the top of your head cut off? Are you in focus?
If you get these things wrong, the footage is probably going to be unusable. So,without a 2nd person to operate the camera, how do we go about monitoring ourselves?
Good Selfie Camera
First up, if you are looking to buy a smartphone for recording video for a YouTube channel, then look for a device with a good front camera. Being able to film yourself with the front camera makes the job so much easier.
On the other hand, the main camera of your device will nearly always be the best quality camera. It will be better in low light conditions and will usually give you some shallow depth of field. Which means a bit of nice blurry background.
Whether you use the front or main back cameras really depends on the device and the lighting conditions. If you find your front camera is good enough then go ahead and use it.
Trial & Error
For a couple of years, I filmed myself with the rear main camera of the Note20 Ultra. I just found the simplest way to frame myself was to take a test shot, check the footage and then reposition myself if need be. It can be a good idea to place a marker on the floor, so you know where to stand.
Use a Mirror
Another option is to place a mirror behind the phone so you can see the screen. There are mirrors you can attach to the tripod but I found them to be pretty useless.
By the way, Samsungs can be voice activated. If you enable this in the settings, say the words “record video” and your camera should start recording. This way you can position yourself and start recording without having to move.
You can also use an open palm gesture to start recording. Unfortunately, there’s no way to stop recording.
As well, you can do this with your iPhone. First you need to enable Voice Control. Go to settings, accessibility, then enable Voice Control. Remember that when you have the camera app open, the volume up or down buttons act as shutter buttons.
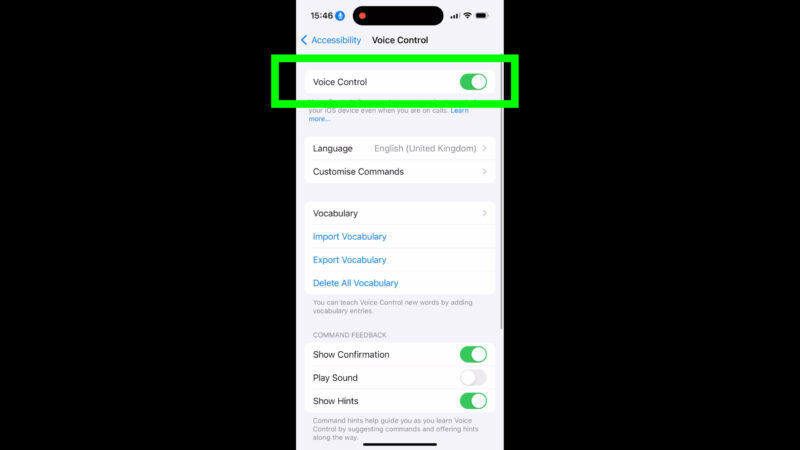
Therefore, the voice command you want to use is “Turn up the volume” or “Turn down the volume”. If it’s in video mode, your iphone will now start recording. Repeat the phrase and it will stop recording.
So now we can start and stop recording without moving or touching the screen.
Screen Mirroring
A great way to monitor your phone’s screen is to use screen mirroring. For example, your iPhone screen can be mirrored onto your Apple watch, your iPad or any Mac computer. As well, a Samsung phone can be mirrored to a Samsung watch and other devices.
I’m not going to list every device, but there’s a good chance your smartphone can be mirrored in some way.
As well, some 3rd party camera apps allow monitoring. FiLMiC Pro works with another app called FiLMiC Remote, which allows you to not only monitor but also to control focus, exposure, record and so on. ProTake, which is iPhone only, also allows you to do this if you have the same app on 2 devices.
Another option is to buy a monitor and connect it via cable to your device.
Camera Settings
This is obviously a huge subject which I cover more thoroughly in other videos as well as in my online lessons for members on Patreon.
But I’ll quickly go over my basic settings for iPhone and Android.
Frame Rate
When you master a video, it has to be mastered in 1 set frame rate. The most common option is 30fps. For the film look you will want 24fps. For that high detail, video game look, you might choose 60fps. But most people choose 24 or 30fps.
While you can only master your video at 1 frame rate, you can record video at all kinds of different frame rates. 24fps, 30fps, 60fps, 1 frame per second for timelapse or hyperlapse, or even 1 frame every 60 seconds.
Most of the time, when I’m recording myself talking to the camera I have my camera set to 4K and 30fps.
I nearly always use auto exposure and focus with the native app of the device. Most devices now have great face detection, so as soon as your face is in shot, the camera will autofocus on you.
If you want manual control, with an iPhone you will need a 3rd party camera app. On the other hand, most Android systems have a manual control option within the native camera app.
When I’m filming myself with my iPhone 14 Pro I will usually use Cinematic Mode. This helps to separate you from the background. Androids also often have something similar, called something like Portrait mode. Although when I recently tested the latest Xiaomi flagship, the portrait mode didn’t work very well.
So that’s how to record talking to camera shots. But what about the B roll?
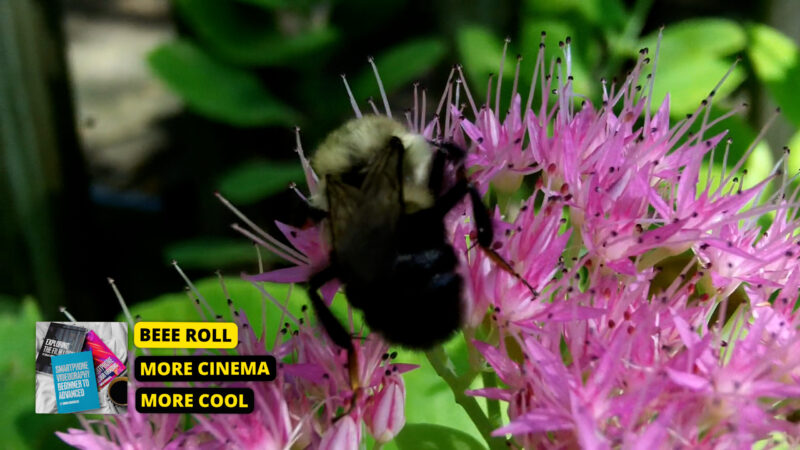
B Roll
Apart from talking to the camera you might need B roll footage. This is footage used to illustrate what you are talking about or just to create engaging visuals. For example, you might have a 5 second break between chapters with music and cinematic shots.
When I’m filming B roll I will often also set my smartphone camera to auto. But this does depend on the shot. If I want slow motion, I will shoot at 60fps and then slow to 24 or 30fps when editing. This allows me to shoot at 4K whereas the slow motion mode on your device is often limited to 1080p or lower.
Sometimes I will lock focus and exposure by long pressing on the screen. I will do this if I think the shot looks better.
When it comes to grading, I generally only make minor adjustments. Again, this mostly to save time. To be successful on you tube, you do need to create regular content. It doesn’t have to be every day or even every week, but I wouldn’t leave it longer than a couple of months between posts.
How to get Views on YouTube
Once you start making videos for your channel, how do you get people to watch them? According to a study by Social Blade, only about 1% of all YouTube channels have over 100,000 subscribers. Of course, we all have different ideas of what success looks like.
The truth is, there are some fantastically well produced channels that look amazing, but only get a trickle of views.
Despite what YouTube gurus tell you, there is no magic formula which will guarantee views for your channel. There is no secret hack either. That’s why in my new podcast for members on Patreon, I talk about how I managed to grow this channel and I go through the basics of how the YouTube algorithm works.
Before I started this channel, I created this mobile filmmaking blog which got up to 2000 views per day. Before that Andrea and I used social media to fund a film festival. And before that, I used social media to meet targets on over a dozen crowdfunding campaigns.
This channel isn’t a one off fluke. I used certain skills and strategies to boost my chances of success.
Smartphone Videography – Beginner to Advanced
If you want to know more about filmmaking, my book Smartphone Videography – Beginners to Advanced is now available to download for members on Patreon. The book is 170 pages long and covers essential smartphone filmmaking topics:
Things like how to get the perfect exposure, when to use manual control, which codecs to use, HDR, how to use frame rates, lenses, shot types, stabilisation and much more. There’s also my Exploring the Film Look Guide as well as Smartphone Colour Grading, as well as over 50+ video lessons covering topics such as cinematic camera movement, framing and editing.
If you want to join me there follow this link.
